How to Grow Lemon Tree from Seed
Ever thought of having a sunshine-scented citrus grove right on your windowsill, or perhaps a fragrant lemon tree gracing your patio? Well, think no more because we’re here to tell you how to grow lemon tree from seed.
This guide will walk you through everything you need to know about growing lemon trees from seeds. From selecting the perfect seed to nurturing your little lemon sapling into a thriving tree, we have you covered.
So, grab a cup of refreshing lemonade (store-bought for now!), and let’s get started!
Jump to section:
- The Allure of Growing Your Own Lemon Tree
- Steps to Grow Lemon Trees from Seeds
- The Long and Rewarding Journey: From Seedling to Fruit-Bearing Wonder
The Allure of Growing Your Own Lemon Tree
But first things first, why should you grow your very own lemon tree? Well, there’s something incredibly special about cultivating your own citrus tree. It’s more than just having a pretty plant; it’s about the satisfaction of nurturing something from a tiny seed into a fruit-bearing wonder.
Imagine harvesting a lemon you’ve nurtured from a tiny seed. It’s dripping with sunshine, the rind a vibrant yellow, and the aroma promises pure citrus bliss. This baby is bursting with flavor, homegrown and chemical-free. Now that’s a taste of victory!
But the benefits extend far beyond the delicious fruit. Lemon trees are naturally air-purifying, filling your home with a refreshing citrusy scent that can elevate your mood and promote relaxation.
Plus, tending to your little lemon buddy can be a therapeutic and meditative experience, a welcome escape from the daily hustle.
Steps to Grow Lemon Trees from Seeds
Now, let’s get into the practicalities of how to grow lemon tree from seed!
Step 1: Select the Lemon Seed
The journey begins with a single seed (or multiple seeds if you want to grow more lemon trees).
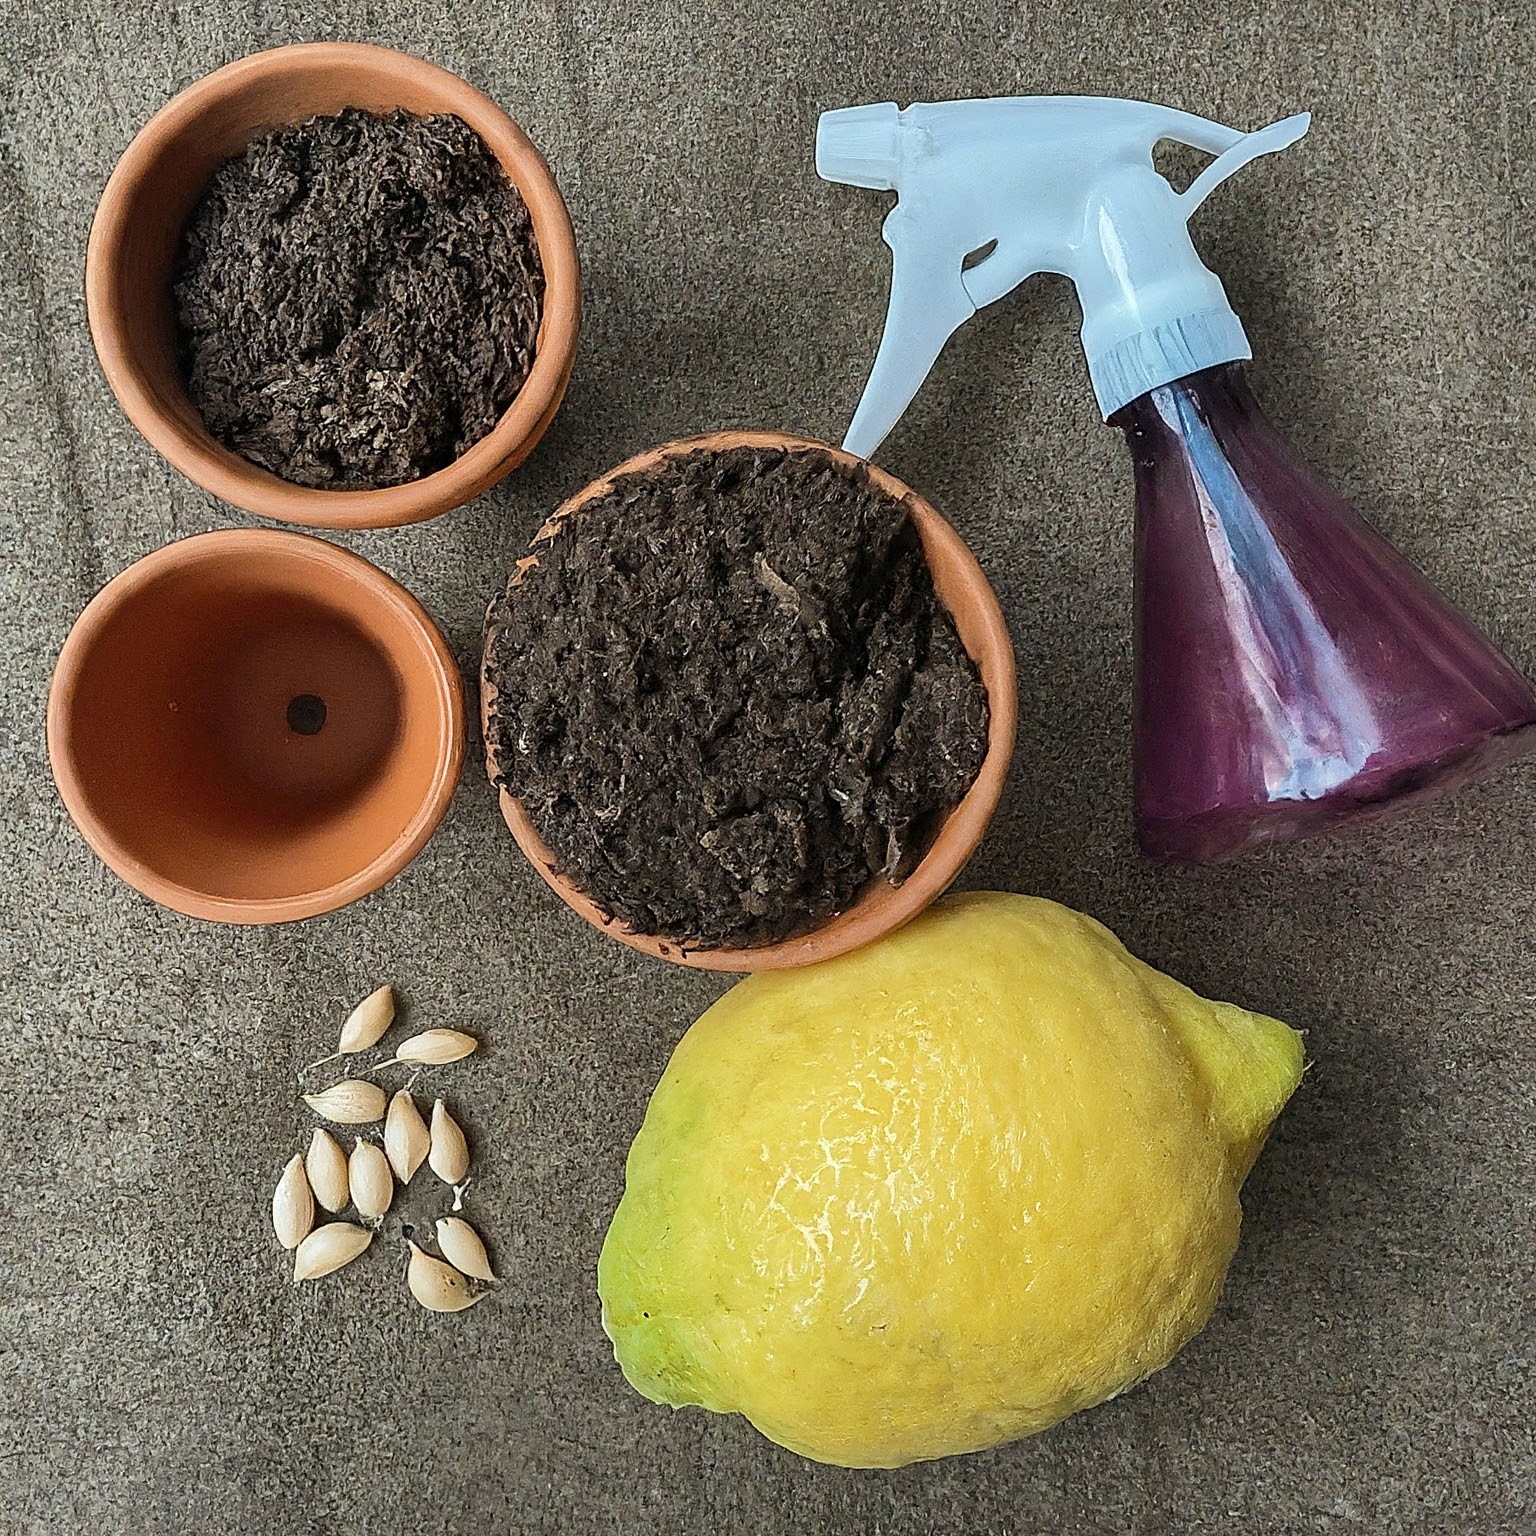
The good news is, you don’t need any fancy lemon seeds for this project. The next time you enjoy a juicy lemon, save a few plump seeds from the center of the fruit. Don’t worry about perfect-looking seeds; any healthy, firm one will do the job.
Here’s a quick tip: Organic lemons are a great choice because they haven’t been treated with chemicals that might hinder germination.
Step 2: Planting Your Seeds: Witnessing the Miracle of Germination
Now comes the exciting part: planting your precious seeds! Here’s what you’ll need:
- Potting mix: Choose a well-draining, high-quality potting mix specifically formulated for citrus trees. These mixes usually contain a good balance of peat moss, perlite, and other ingredients that promote healthy root development.
- Pots: Choose small pots (3-4 inches in diameter) with drainage holes at the bottom. Drainage is crucial to prevent root rot, the enemy of all happy plants.
- Spray bottle: A handy tool to keep the soil consistently moist.
Planting Process
- Fill your pots with the potting mix, leaving about an inch of space at the top.
- Moisten the potting mix by gently misting it with the spray bottle.
- Plant your lemon seeds about ½ inch deep, pointy end facing upwards.
- Cover the pot loosely with a plastic bag to create a mini greenhouse environment. It will keep them nice and toasty with just the right amount of moisture to help them sprout into happy little lemon trees.
Step 3: Finding the Perfect Spot for Germination
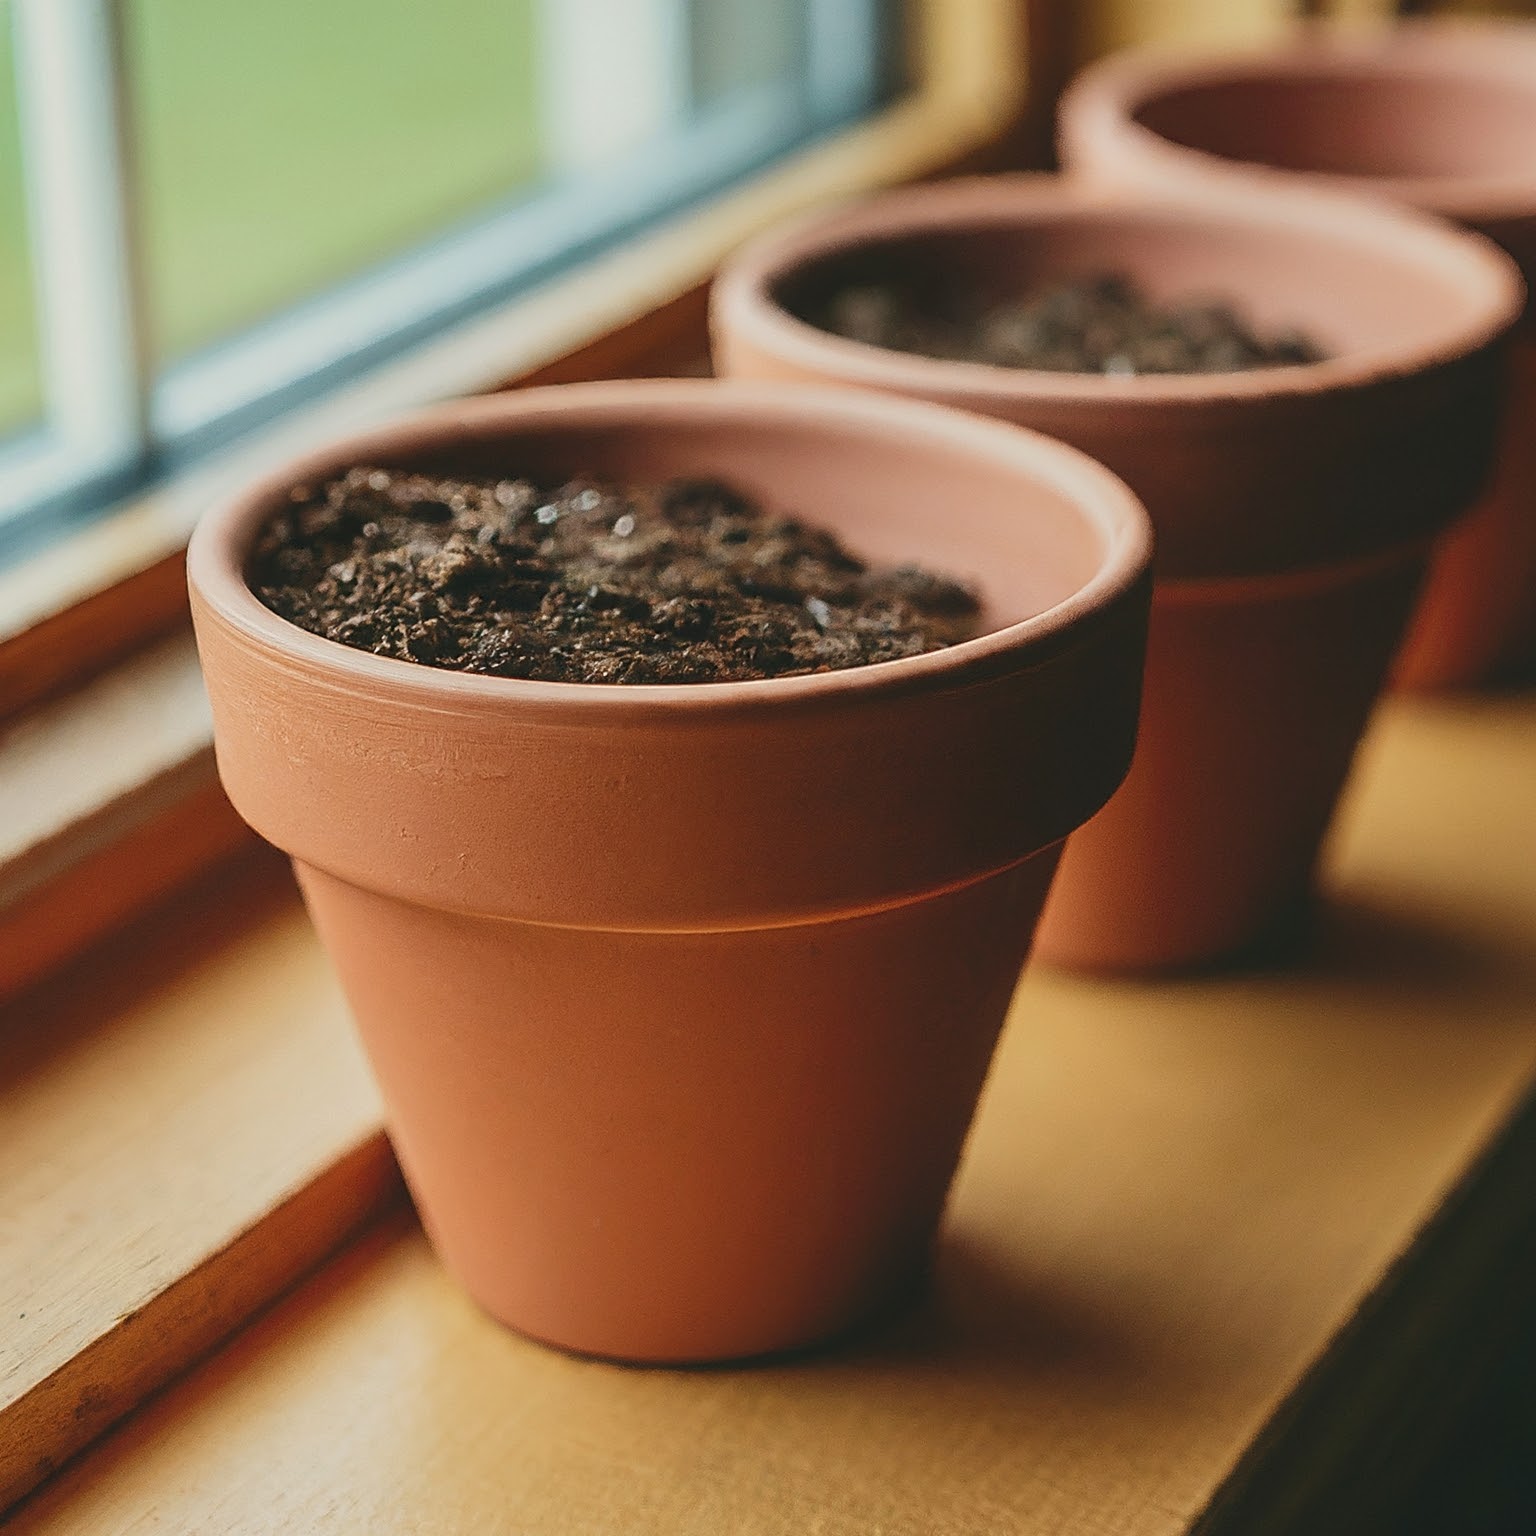
Once your precious seeds are tucked into their cozy pots, it’s time to find them the ideal germination haven. Here’s what you’re looking for:
- Sunshine City: While lemon seeds technically don’t need direct sunlight to germinate, they do crave warmth and plenty of indirect light. A sunny windowsill facing south or west is a prime location. This provides the warmth needed to kickstart the germination process without the harsh intensity of direct afternoon sun, which can dry out the soil too quickly.
- The Temperature Tango: Remember, warmth is key! Aim for a consistent temperature around 70°F (21°C). This is the sweet spot that encourages your lemon seeds to sprout. If your home tends to be on the cooler side, consider using a heat mat specifically designed for plant propagation. Place the heat mat under your pots and set it to a low setting to provide gentle bottom heat.
- Humidity Haven: Germinating seeds love a humid environment. Here are a couple of tricks to create a mini greenhouse effect around your pots:
- Plastic Wrap Power: As mentioned earlier, it is a good idea to cover the top of your pots loosely with a clear plastic bag. This helps trap moisture evaporating from the soil, creating a humid microclimate that aids germination. Just remember to poke a few small holes in the plastic for air circulation to prevent mold growth.
- The Pebble Tray Technique: Fill a shallow tray with pebbles and add water to just below the top of the pebbles. Then place your pots on top of the pebbles. As the water evaporates, it creates a humid microclimate around your seeds.
Pro Tip:
Keep an eye on the moisture levels in your pots during germination. Stick your finger in the soil! (Don’t worry, it’s good for the plant connection). It should feel slightly damp to the touch, but not leave your finger muddy.
If it feels dry, give your lemon friend a drink. If your finger comes out muddy, hold off on watering for a day or two. Also, if the plastic wrap creates too much condensation, remove it briefly to allow for some fresh air circulation.
Patience is a Gardener’s Virtue
Don’t get discouraged if you don’t see sprouts overnight. Those lemon seeds aren’t slacking off, they’re having a citrusy spa day! Germination can take 2-6 weeks, so be patient. Just imagine the glorious moment those tiny green heroes break through the soil.
Welcome, Little Sprouts!
Once your seeds germinate, and you see those beautiful green shoots pushing through the soil, it’s time to celebrate! You can now remove the plastic bag to allow for proper air circulation.
Step 4: Nurturing Your Lemon Seedling
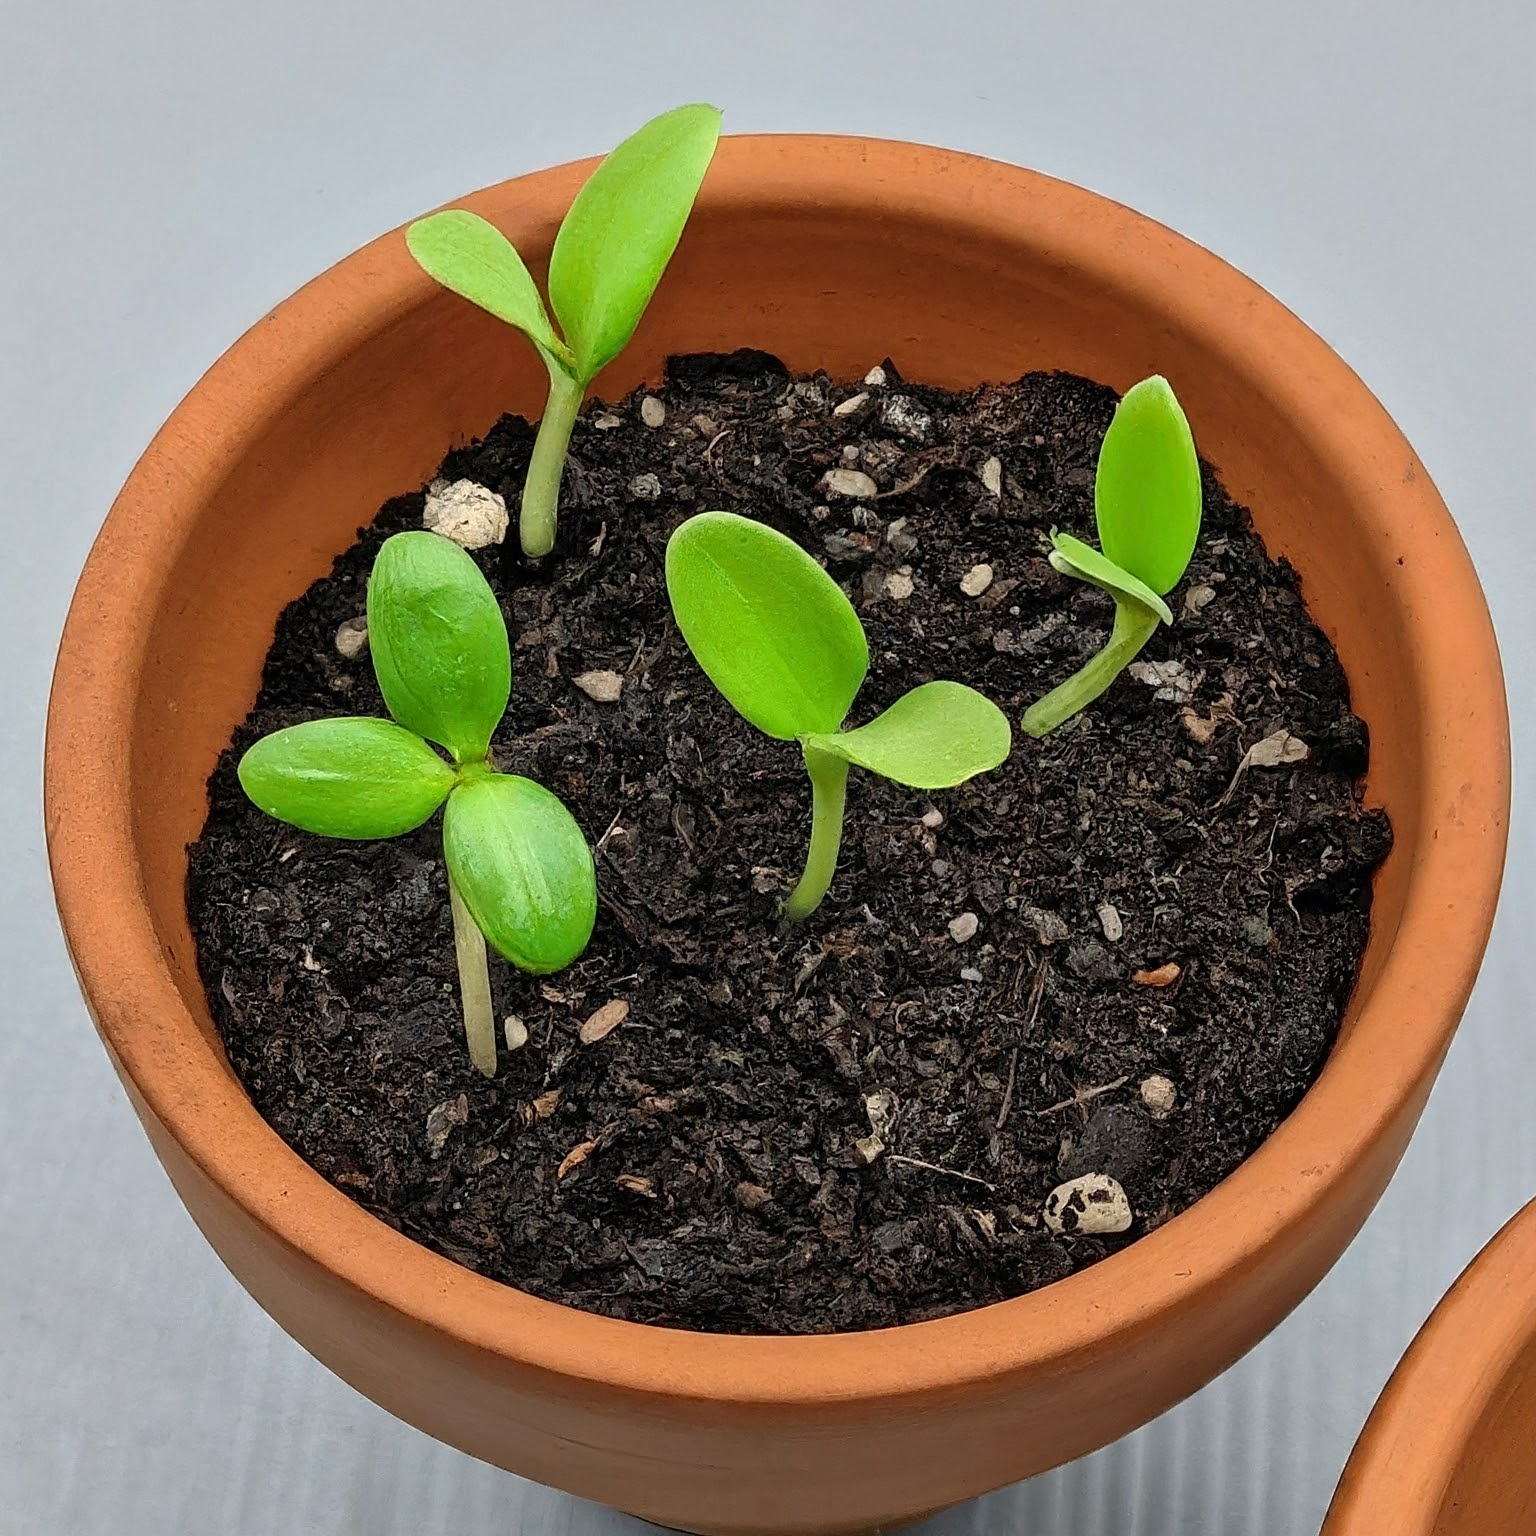
Now that you have a proud little lemon sprout, here’s how to care for it:
Sunshine Makes Everything Shine
Move your lemon seedling to a location that receives at least 6-8 hours of bright, indirect sunlight daily. South or west-facing windows are ideal. A lack of sunlight can make your lemon tree leggy and prevent fruit production in the future.
Watering Wisely
As your lemon seedling grows, it will require regular watering. The key is to find a balance – the soil should be consistently moist but not waterlogged.
A useful rule of thumb is to allow the top inch of soil to dry out slightly before watering again. A good soaking, allowing excess water to drain from the pot’s drainage holes, is better than frequent light watering.
Step 5: Give Your Lemon Tree a Nutritional Boost
Just like us humans, plants need a balanced diet to thrive. While lemon trees are relatively low-maintenance feeders, providing them with occasional nutrients will encourage healthy growth and potentially even future fruit production.
Here’s how to keep your lemon tree happy and nourished:
Fertilizing Your Lemon Tree
Once your lemon seedling has developed a few sets of true leaves (those that look different from the initial sprout leaves), you can begin a light fertilizing regimen. While it is a good idea to use a citrus-specific fertilizer formulated for container plants, you may want to stick with your organic, homemade nitrogen fertilizer.
Also, remember that over-fertilizing can damage your lemon tree so be sure not to go overboard with fertilizing.
Pro tip: During the active growing season (spring and summer), you can fertilize your lemon tree every two to four weeks. In the winter months, when growth slows down, reduce fertilization frequency to once a month or even hold off altogether.
The Magic of Mulch
Time to pamper your lemon tree! Grab some organic goodies like bark chips or shredded leaves and create a 2-inch layer of mulch magic around the base of your tree.
This isn’t just decoration, it’s a superhero cape for the soil! Mulch helps keep moisture locked in, regulates the temperature like a tiny air conditioner, and stops pesky weeds from stealing your lemon tree’s nutrients. Talk about a win-win!”
Step 6: Potting Up for Success
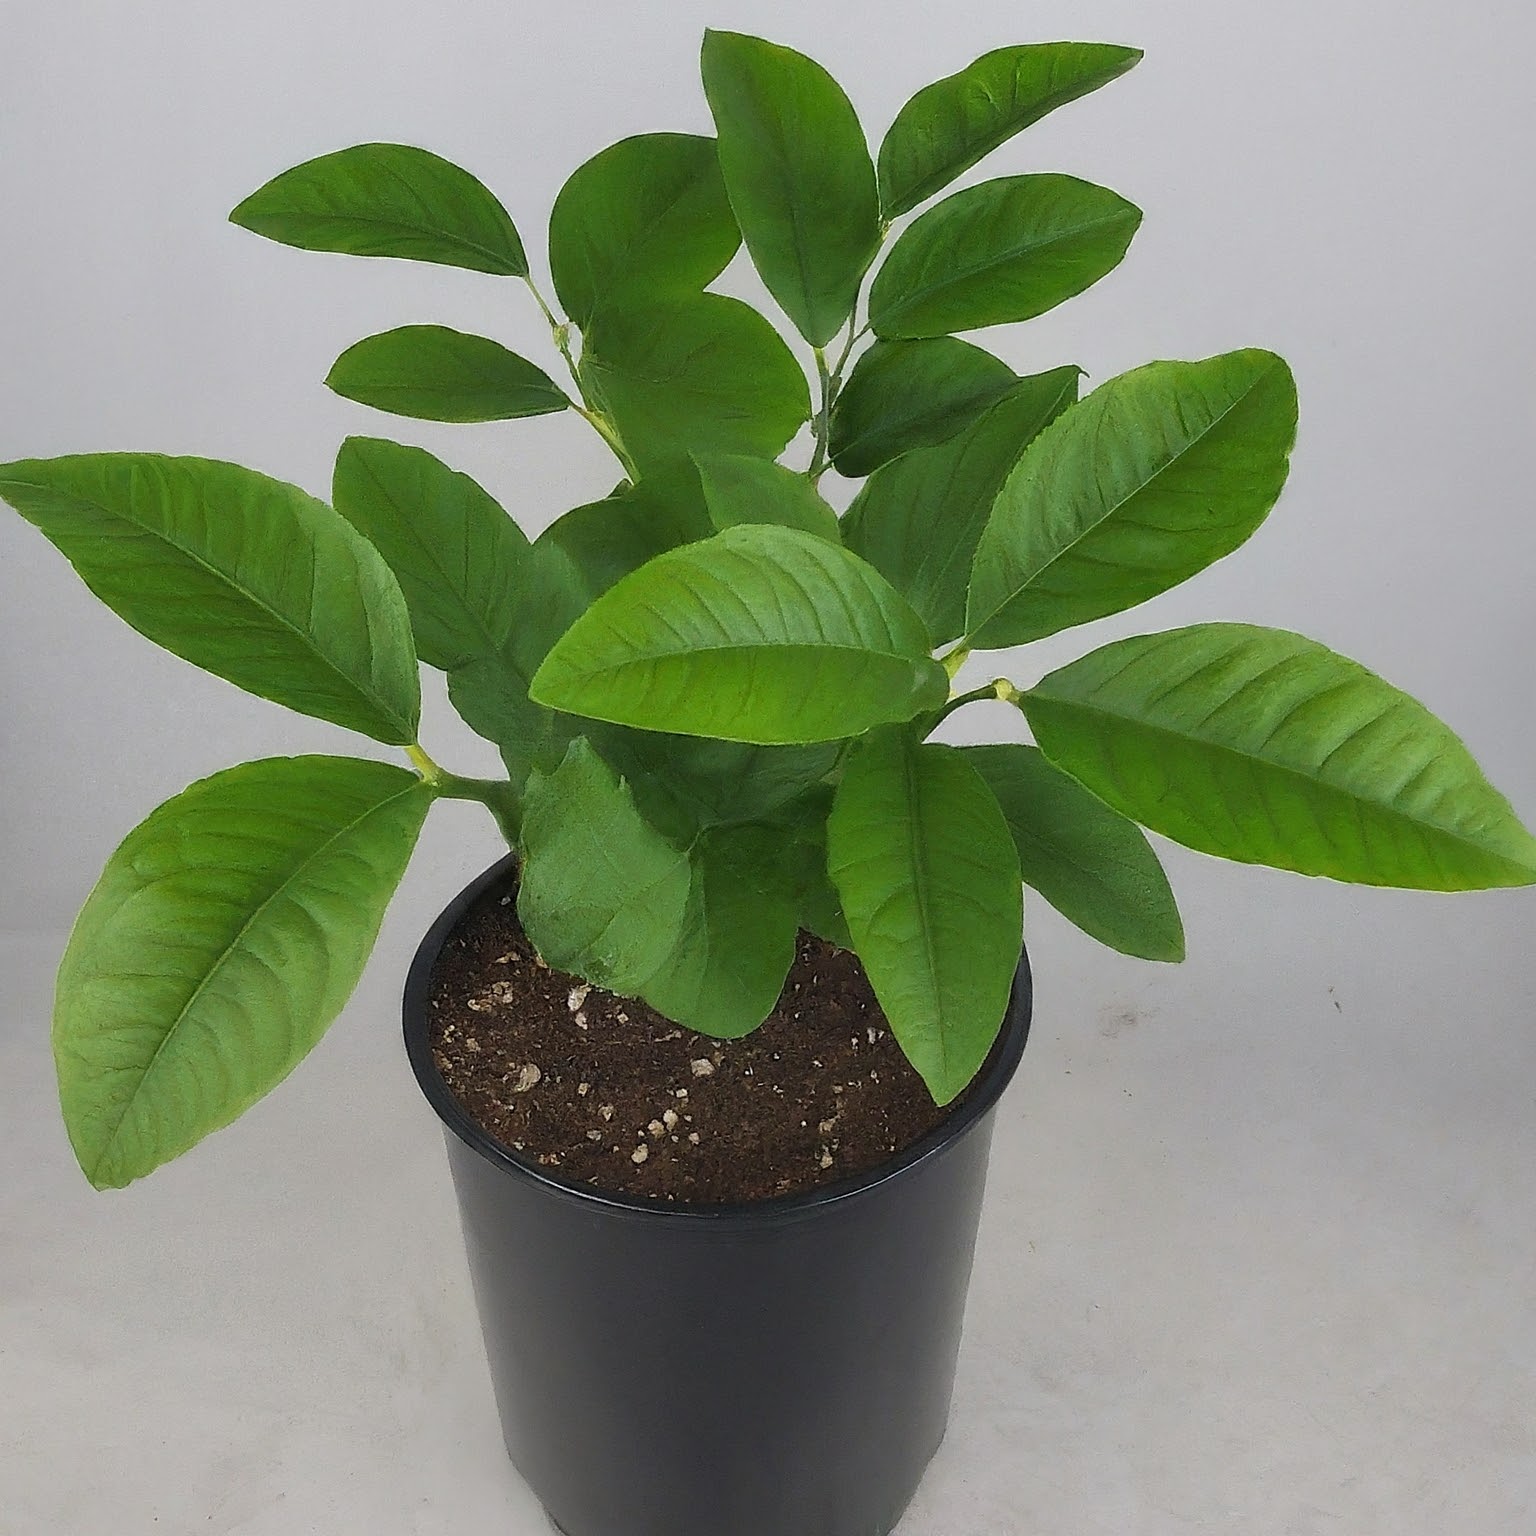
As your lemon tree grows, it will eventually outgrow its initial small pot. To prevent your little citrus friend from becoming rootbound (a condition where the roots have no space to grow), repotting is necessary.
Here’s when and how to do it:
- Repotting Time: Look for signs that your lemon tree needs a bigger home. These include roots circling around the drainage holes of the pot, stunted growth, and leaves turning yellow or dropping prematurely. Typically, repotting is necessary every 1-2 years for young lemon trees.
- Choosing the Right Pot: Select a pot that’s 2-3 inches larger in diameter than the current pot. Remember, good drainage is crucial, so ensure the new pot has drainage holes. You may want to use terracotta pots as they allow for better air circulation around the roots.
- Repotting Process: Carefully remove your lemon tree from its current pot and gently loosen any tightly bound roots with your fingers. Then place the lemon tree in the new pot, filling the space around the root ball with fresh potting mix. Water thoroughly after repotting and monitor your lemon tree closely for any signs of stress in the following days.
Step 7: Pruning Your Lemon Tree
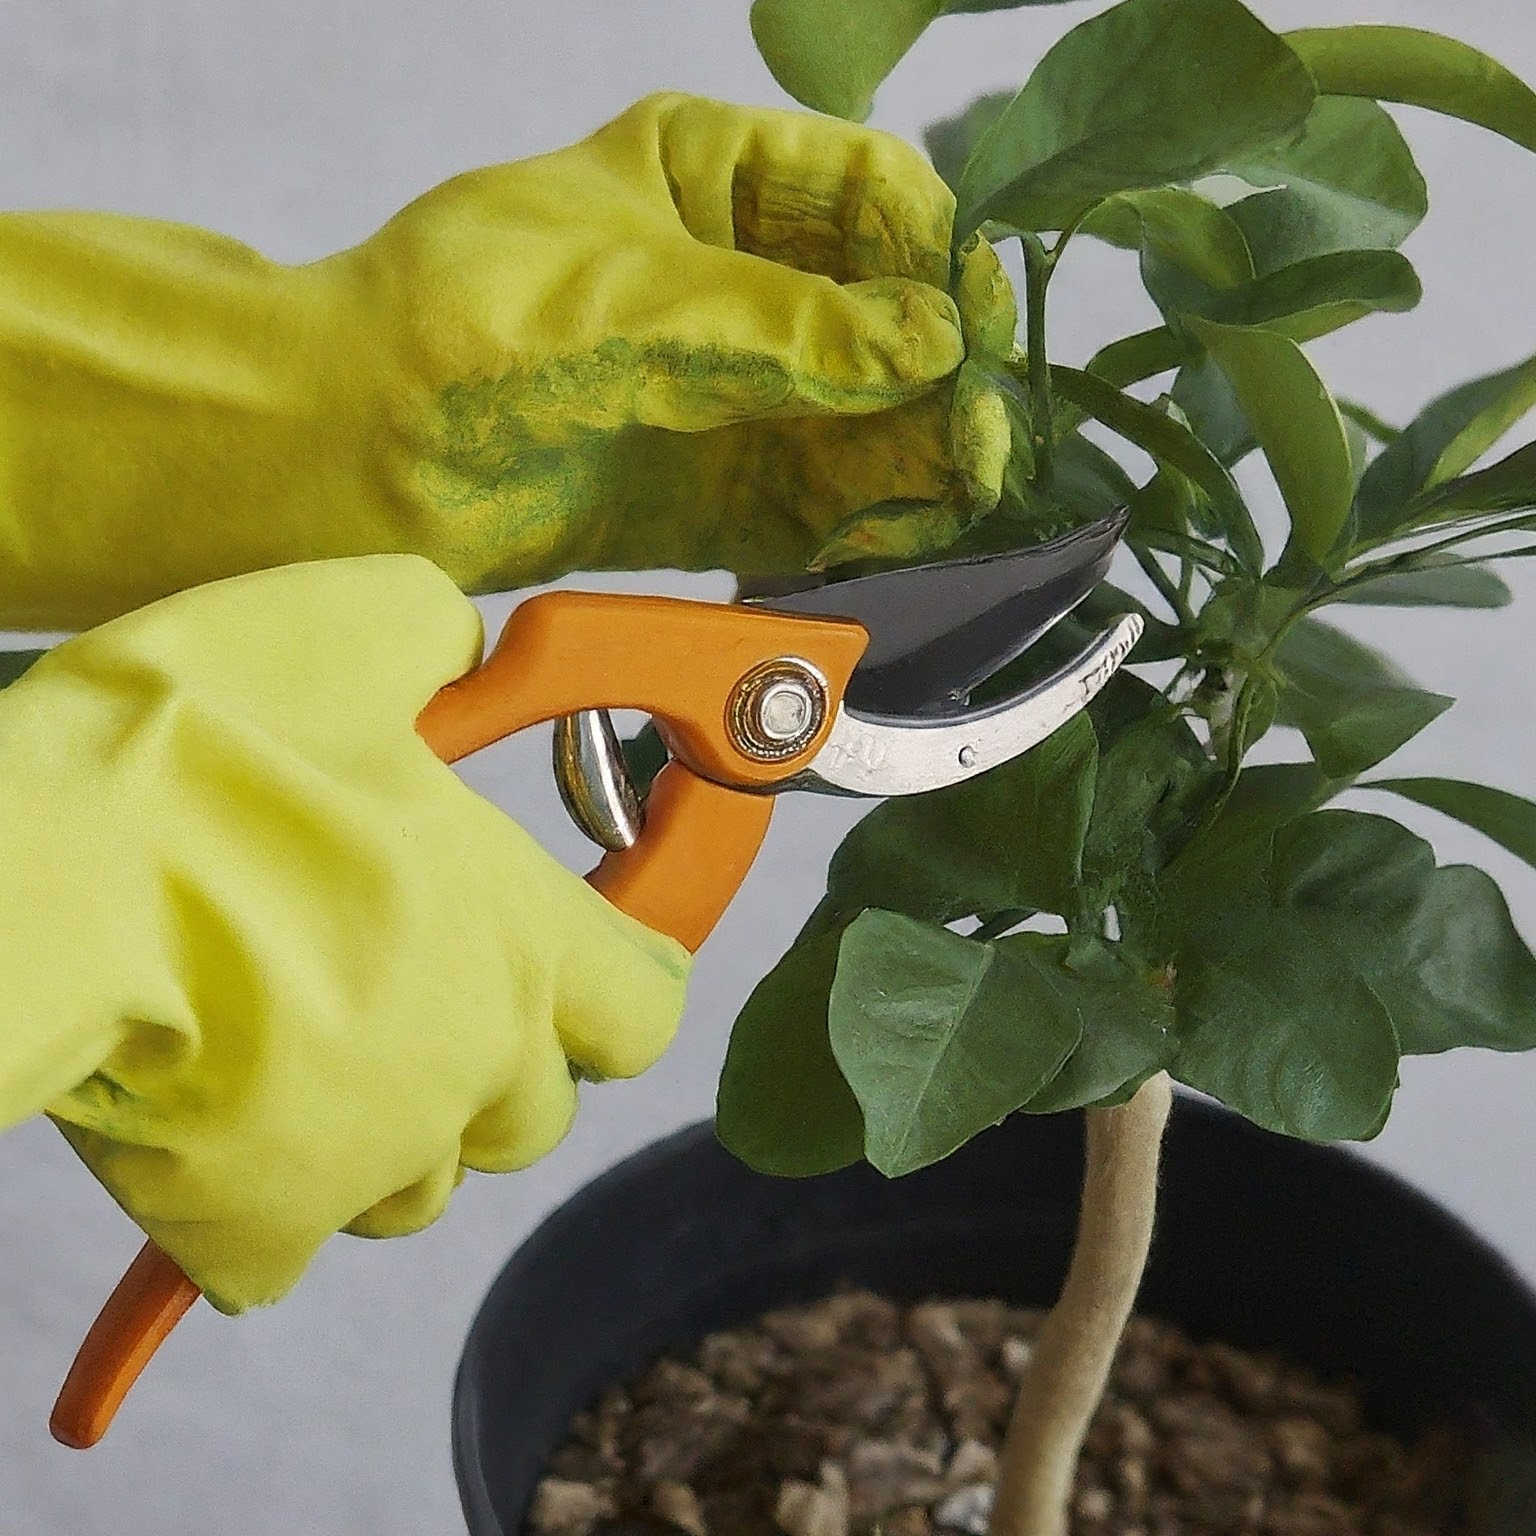
Pruning your lemon tree might seem a bit daunting, but it’s a crucial practice for maintaining a healthy shape and encouraging fruit production.
Here’s a simple approach to pruning your young lemon tree:
- Pruning for Shape: Once your lemon tree reaches about 12-18 inches tall, you can begin light pruning to encourage branching. Pinch off the tips of new growth to stimulate lateral branching, creating a bushier and more compact tree.
- Pruning for Fruit Production: As your lemon tree matures (around 3-4 years old), you can start pruning to promote flower and fruit production. Focus on removing any dead, diseased, or inward-growing branches. Plus, you can prune any overly vigorous shoots that might be taking away energy from potential fruiting branches.
Remember: Don’t go overboard with pruning! The goal is to encourage healthy growth and structure, not to drastically alter your lemon tree’s natural form.
Explore more information about pruning.
The Long and Rewarding Journey: From Seedling to Fruit-Bearing Wonder
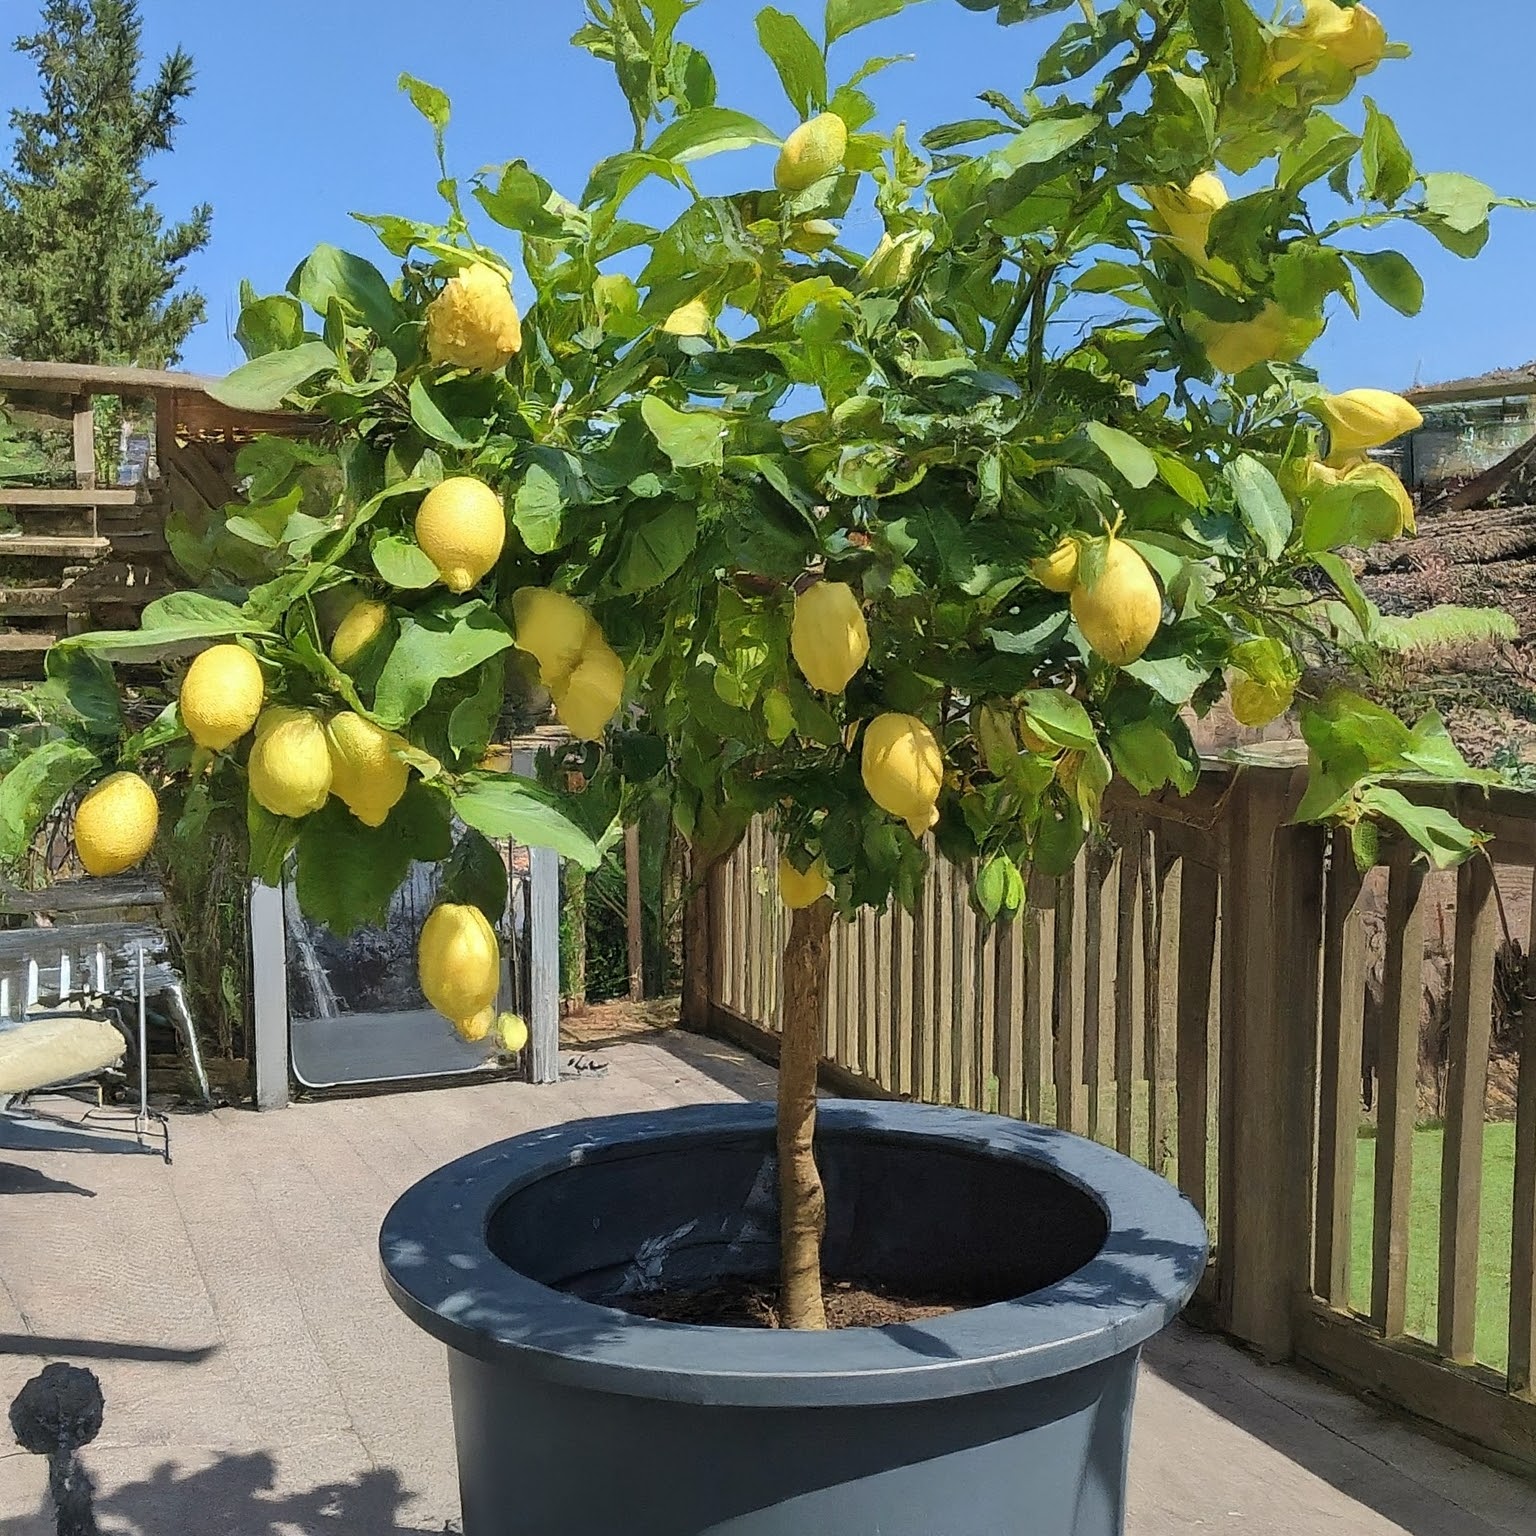
Growing a lemon tree from seed is a marathon, not a sprint. It typically takes around 3-5 years before your lemon tree matures enough to produce fruit. But don’t be discouraged! The journey of nurturing your little citrus companion from a tiny seed into a fruit-bearing tree is incredibly rewarding.
Here are some additional tips for growing lemons from seeds successfully:
- Be Patient: Remember, patience is key. Don’t expect overnight results. Enjoy the process of watching your lemon tree grow and learn to appreciate the small milestones along the way.
- Love and Attention: Lemon trees, like all living things, thrive on love and attention. Talk to your lemon tree (yes, really!), provide it with the right care, and it will reward you with its beauty and, eventually, delicious fruits.
- Troubleshooting: Don’t be afraid to troubleshoot any problems you encounter. Research common lemon tree issues like pests, diseases, or nutrient deficiencies. There’s a wealth of information available online and in gardening books to help you diagnose and address any challenges.