Homemade Nitrogen Fertilizer
Picture yourself in your garden, surrounded by vibrant colors and delightful scents. The best part? Seeing your plants thrive and bloom. And what helps them do that? Fertilizer—it’s like their secret superfood.
But guess what? You don’t need fancy stuff from the store. Nope, you can use everyday things to give your plants a boost.
Today, we’re going to walk you through all the options and steps to make nitrogen fertilizer at home. Without further ado, let’s jump in.
What is Nitrogen Fertilizer
Let’s break it down. Nitrogen fertilizer is like a power-up for your plants. Just like how we need vitamins to stay healthy, plants need nutrients to grow big and strong.
Nitrogen is one of those crucial nutrients—it’s like an energy drink for plants. It helps them grow lush leaves, sturdy stems, and vibrant colors. It’s the nutrient responsible for vibrant foliage, lush lawns, and robust stems.
Without an adequate supply of nitrogen, your plants may appear stunted, pale, or even sickly.
And here’s an interesting history of using nitrogen for plants.
Before scientists understood the importance of nitrogen for plants, farmers noticed something interesting: when they planted legume crops like clover, the soil seemed to get richer. Legumes have a special ability to make their own nitrogen, thanks to a bacteria in their roots called Rhizobiaceae, α-Proteobacteria.
Even though nitrogen makes up a big part of the air we breathe, people couldn’t get it easily until the early 20th century when the Haber-Bosch process was invented. This process allowed humans to make nitrogen from the air.
So, when we talk about nitrogen fertilizer, we mean a special blend of nutrients that gives your plants the boost they need to thrive.
The Pros and Cons of Commerical Nitrogen Fertilizers
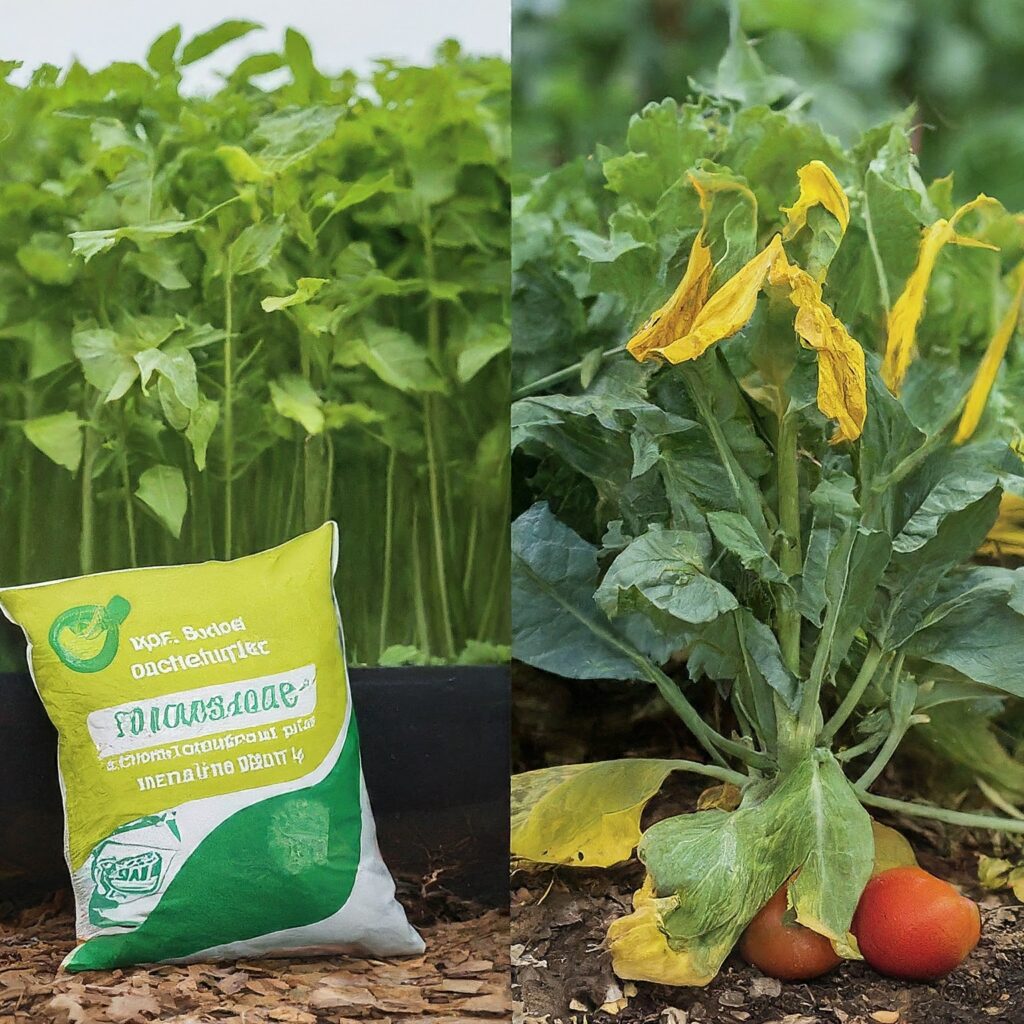
Before we walk you through the steps to make DIY nitrogen fertilizer, let’s take a look at the good and the not-so-good sides of using commercial nitrogen fertilizers:
Pros:
- Convenience: Commercially available nitrogen fertilizers are easy to find and use. You can easily find them at garden stores for quick application.
- Controlled Nutrient Levels: You can adjust the nutrient ratios to suit your plants’ needs precisely.
- Fast-Acting: These fertilizers work quickly to revive struggling plants, delivering nutrients straight to the roots.
- Long Shelf Life: You can store them for a long time without worrying about spoilage.
Cons:
- Chemical Dependency: Many commercial fertilizer brands contain synthetic chemicals, which may harm soil health and the environment over time.
- Risk of Overfertilization: It’s easy to give your plants too much, leading to problems like excessive foliage growth and pollution.
- Environmental Impact: The production and use of commercial fertilizers contribute to pollution, including greenhouse gas emissions and nutrient runoff.
- Cost: They can be pricey, especially for larger gardens or frequent use.
So, while commercial nitrogen fertilizers offer convenience, they also have drawbacks like environmental harm and cost. It’s essential to consider these factors and explore alternative options for sustainable gardening.
Why Make Nitrogen Fertilizer at Home?
You might be wondering, “Why bother making nitrogen fertilizer at home when I can buy it from the store?” Well, DIY nitrogen fertilizer offers several perks.
- First, it’s cost-effective. You’ll save a pretty penny by using household items to create your own fertilizer.
- Second, it’s eco-friendly. You’ll reduce your carbon footprint by repurposing items that might otherwise end up in the trash.
- And next, it’s rewarding. There’s something truly gratifying about nurturing your plants with the fertilizer you made with your own two hands.
- Homemade organic fertilizers also have fewer nutrients than synthetic ones, which makes them less likely to harm plants if you use too much.
So, instead of using synthetic nitrogen fertilizers, think about using organic ones. You can even make it yourself at home. This way, you’ll avoid adding too much nitrogen to the environment and keep your plants healthy in a natural way.
Ingredients for Homemade Nitrogen Fertilizer
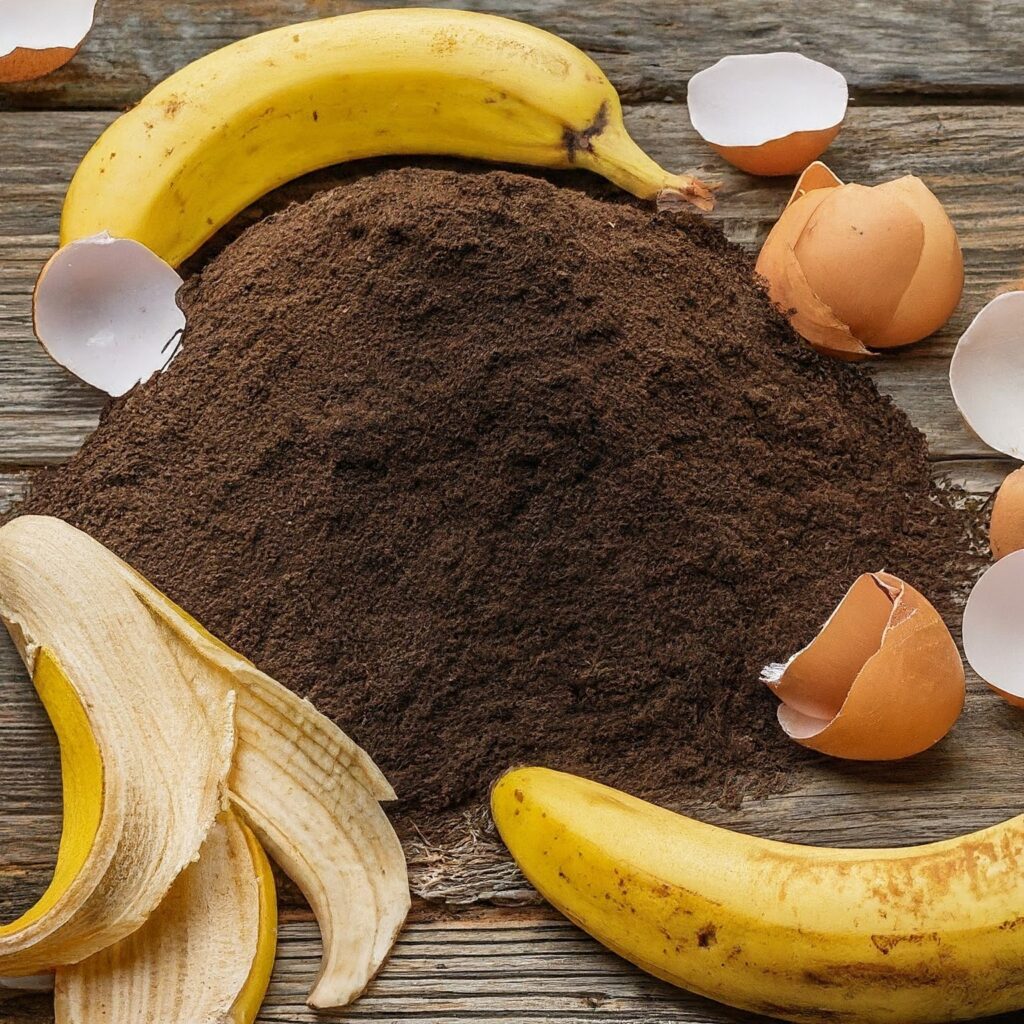
For starters, let’s gather our supplies. Making nitrogen fertilizer at home is surprisingly simple.
Here’s what you’ll need:
- Coffee Grounds: Ah, the aromatic remnants of your morning brew. Coffee grounds are rich in nitrogen, making them an excellent base for your DIY fertilizer.
- Eggshells: Don’t toss those eggshells into the bin just yet! They’re packed with calcium and a dash of nitrogen, perfect for fortifying your homemade blend.
- Banana Peels: Next time you enjoy a potassium-rich banana, hold onto the peel. Banana peels are a fantastic source of nitrogen and other nutrients.
DIY Nitrogen Fertilizer Recipes
Now that we’ve gathered our ingredients, it’s time to whip up some fertilizer magic. Here are two simple recipes to get you started:
Coffee Grounds and Eggshells Blend
- Collect used coffee grounds and thoroughly washed eggshells.
- Blend the coffee grounds and eggshells together until you have a fine powder.
- Sprinkle the mixture around the base of your plants, then gently water to help the nutrients penetrate the soil.
Banana Peel Tea
- Place banana peels in a large container and cover them with water.
- Allow the mixture to sit for a few days, giving it a stir from time to time.
- Strain the liquid and dilute it with water (about 1 part banana peel tea to 3 parts water).
- Use the diluted tea to water your plants, giving them a nitrogen-rich boost.
Other Methods
Did you know that if you mow your lawn regularly, you’ve got a free source of nitrogen right at your fingertips? Yes, we’re talking about grass clippings. They decompose quickly, releasing nitrogen into the soil.
And if you’re an aquarist, rejoice! The water from your fish tank is teeming with nitrogen-rich waste that your plants will love.
Make More Powerful Organic Nitrogen Fertilizer at Home
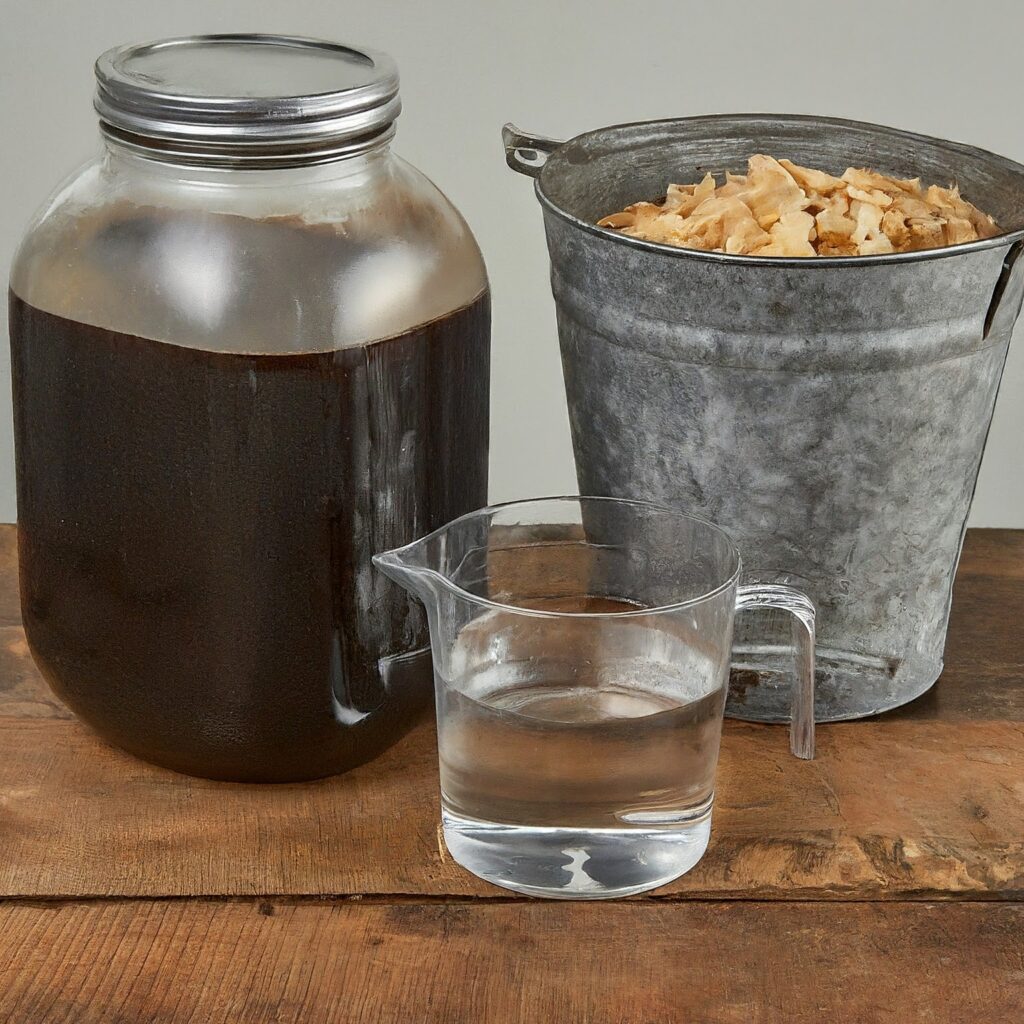
The recipes and methods discussed above will provide you with homemade fertilizer that you can apply in your garden right away. These fertilizers have enough nutrients to help your plants bloom. But if you’re looking for a more potent organic fertilizer in larger amounts, read on for the recipe:
Ingredients:
- 6kg of banana stem
- 2 liters of molasses
- 300 ml of water
Instructions:
Step 1: Preparation – Obtain 6kg of banana stem and cut it into small pieces. Banana stems are rich in nitrogen, an essential nutrient for plant growth, making them an ideal base for homemade fertilizer.
Step 2: Mixing – In a large container, combine the chopped banana stem pieces with 2 liters of molasses and 300 ml of water. Molasses serve as a source of carbohydrates, aiding in the fermentation process.
Step 3: Fermentation – Mix the ingredients thoroughly and ensure they are well incorporated. Place the container in a cool, dark place away from sunlight for up to 7 days. Stir the mixture well once a day to promote fermentation.
Step 4: Your Fertilizer is Ready – After 7 days of fermentation, the mixture should have transformed into liquid urea, a potent nitrogen-rich fertilizer suitable for plant growth.
Step 5: Storage – Transfer the liquid urea fertilizer into bottles for storage. The fertilizer can be stored for up to 3 months, but it’s best to use it as soon as possible for optimal effectiveness.
Application
Dilution Ratio: The standard dilution ratio for the liquid urea fertilizer is 1:500. However, you can adjust the ratio based on the specific needs of your plants and the results of practical experiments.
Usage on Different Plants:
- For eggplants, mix 4 bottle caps (40 ml) of liquid urea with 10 liters of water and use it for watering.
- For spinach, lettuce, and other plants, dilute 1 bottle cap (10 ml) of liquid urea in 1.5 liters of water and use it for watering.
Placement of Banana Stem Waste: After extracting the liquid urea, the residual banana stem waste can be utilized by placing it at the base of plants and covering it with garden soil. This serves as additional organic matter, enriching the soil and promoting plant growth.
Signs Your Plants Need Nitrogen
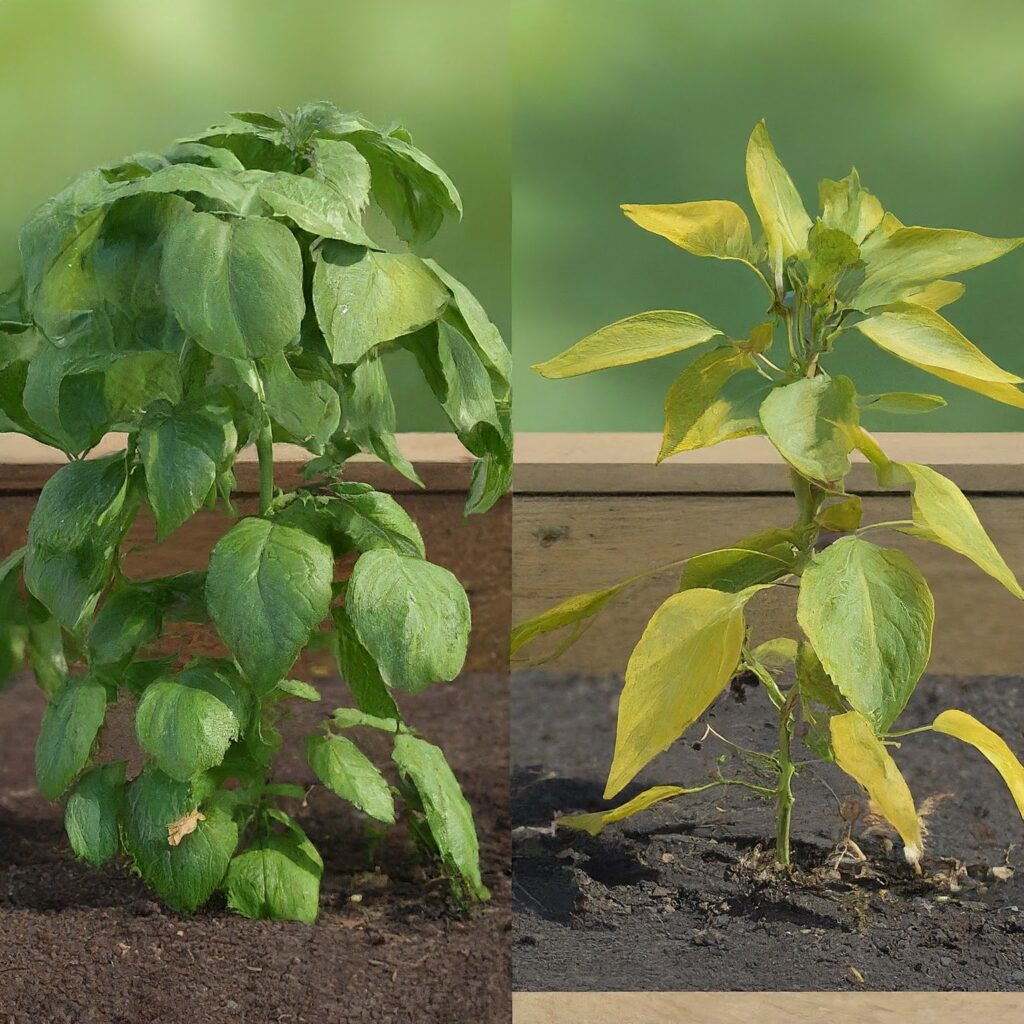
When plants lack nitrogen, their growth is stunted, affecting various parts such as roots, stems, leaves, flowers, fruits, and seeds.
As you know, chlorophyll is responsible for the green color of plants, so when there’s a nitrogen deficiency, leaves start to lose their vibrant hue. As the plant grows, the lower leaves on the stem become pale, indicating a lack of nitrogen.
This occurs because the plant redistributes nitrogen reserves from the base to the younger leaves at the top when their nitrogen levels are low.
Deciding When to Use Nitrogen Fertilizer
Nitrogen boosts plant growth as it helps in making amino acids, which are crucial for cell membranes, and chlorophyll, essential for photosynthesis. But what is the best time to apply nitrogen fertilizer, you ask?
For most plants, it’s best to apply nitrogen-rich fertilizers during their active growth phase. However, with indoor plants, you have more leeway, especially if you’re using a gentle, natural fertilizer with a focus on nitrogen.
In indoor environments where there’s plenty of light, warmth, and proper watering, you can extend the fertilizing period beyond the usual growth season. This is because indoor conditions often mimic the year-round growth cycle of tropical plants.
In vegetable gardens, nitrogen is especially beneficial for leafy greens like kale, lettuce, and spinach, as well as crops such as beets, Brussels sprouts, broccoli, cabbage, and cauliflower.
However, underground veggies and legumes like carrots, fava beans, peas, radishes, parsnips, and turnips typically don’t need extra nitrogen.
Maintaining Balance
Now that you’ve brewed up your homemade nitrogen fertilizer, it’s essential to understand the delicate balance of nutrients in your soil.
While nitrogen is vital for healthy plant growth, too much of a good thing can lead to problems like excessive foliage growth at the expense of fruit or flowers.
As such, you should keep an eye on your plants for signs of nitrogen deficiency or excess, such as yellowing leaves or overly lush foliage, and adjust your fertilizing routine accordingly.
FAQs
1. What is the best homemade nitrogen fertilizer?
While there are many DIY nitrogen fertilizer recipes out there, the best one is the one that works for you and your plants. Experiment with different ingredients and ratios to find the perfect blend for your garden.
2. How can I add nitrogen to my soil naturally?
In addition to homemade fertilizers, there are several natural ways to boost nitrogen levels in your soil. Planting nitrogen-fixing cover crops like clover or beans, using compost made from nitrogen-rich materials, and rotating nitrogen-hungry crops with nitrogen-fixing ones are all effective methods.
3. How to make nitrogen fertilizer from natural gas?
While it’s possible to extract nitrogen from natural gas through industrial processes, it’s not something you can easily do at home. We recommend you stick to more accessible DIY methods like those mentioned in this guide for a homemade nitrogen fertilizer that’s both effective and environmentally friendly.
