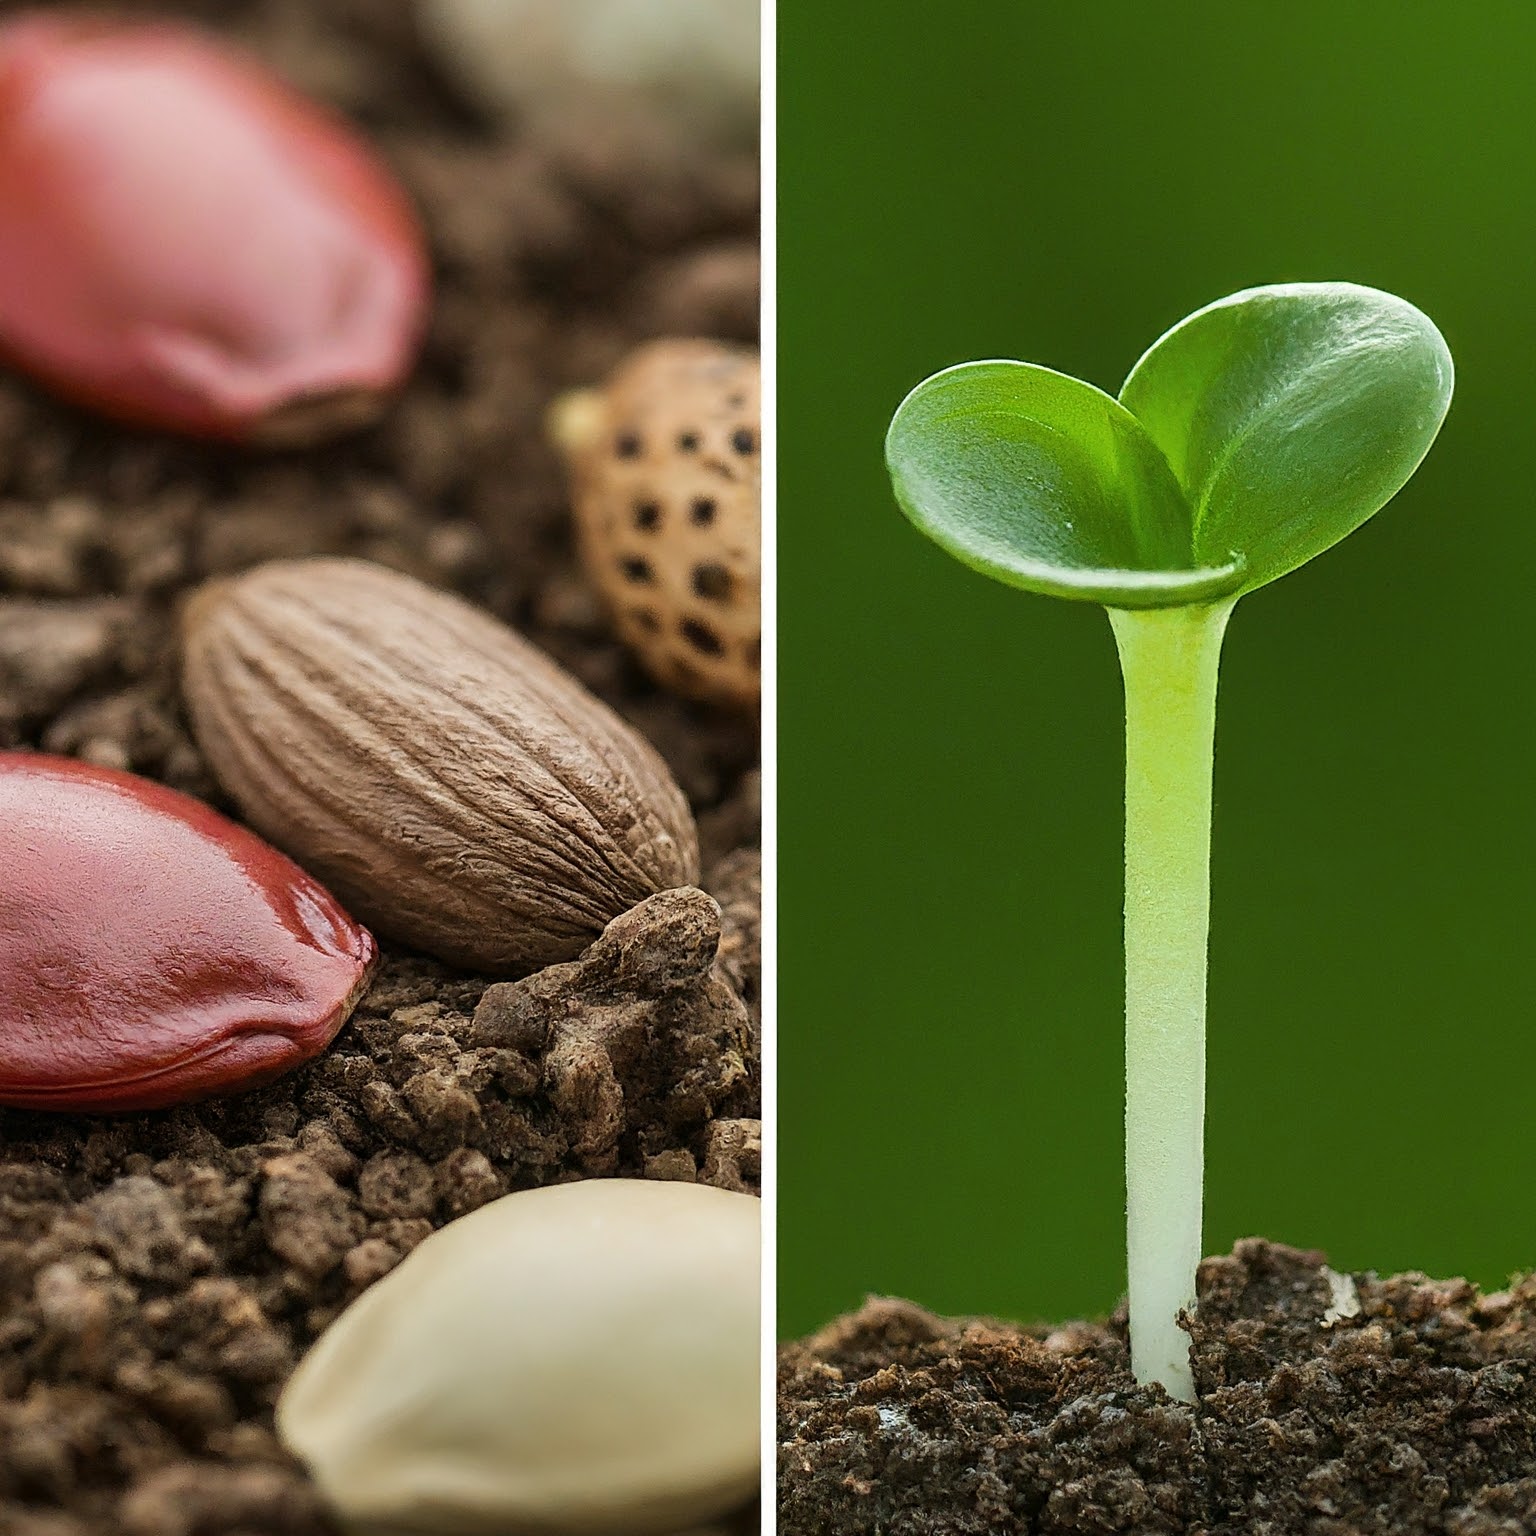
Ever witnessed a stubborn seed resist your best efforts, refusing to erupt into life?
This botanical standoff might not be your fault. Nature, in its wisdom, has equipped some seeds with a built-in delay button – a tough outer shell that hinders germination.
But what if there was a secret handshake, a way to bypass this dormancy and awaken the slumbering potential within?
Enter seed scarification, a technique that cracks the code to germination success.
What is Seed Scarification?
Seed scarification is a technique that involves breaking, scratching, or softening the hard outer shell of seeds. This process mimics natural wear and tear, helping seeds germinate more easily by allowing water and air to penetrate the tough seed coat.
Historically, nature took care of scarification through animal digestion, weathering, or microbial activity. For instance, seeds eaten by animals would be scarified by stomach acids before being excreted and germinating.
But now, you can give nature a helping hand right in your garden.
Check out this video about seed scarification:
Why Scarify Seeds?
You might wonder, why go through the trouble of scarifying seeds? Here’s why:
- Breaking Dormancy: Many seeds have a tough outer layer that protects them but also prevents water and air from reaching the embryo inside. This dormancy is a survival strategy, ensuring seeds sprout only under ideal conditions. However, in your garden, scarification speeds up germination and increases your success rate.
- Improved Germination Rates: By scarifying seeds, you break the barrier that inhibits germination, leading to more seeds sprouting and thriving.
- Wider Variety of Plants: Scarification allows you to grow plants that might not otherwise succeed in your environment. Plants like morning glories, lotus, and many legumes benefit greatly from scarification.
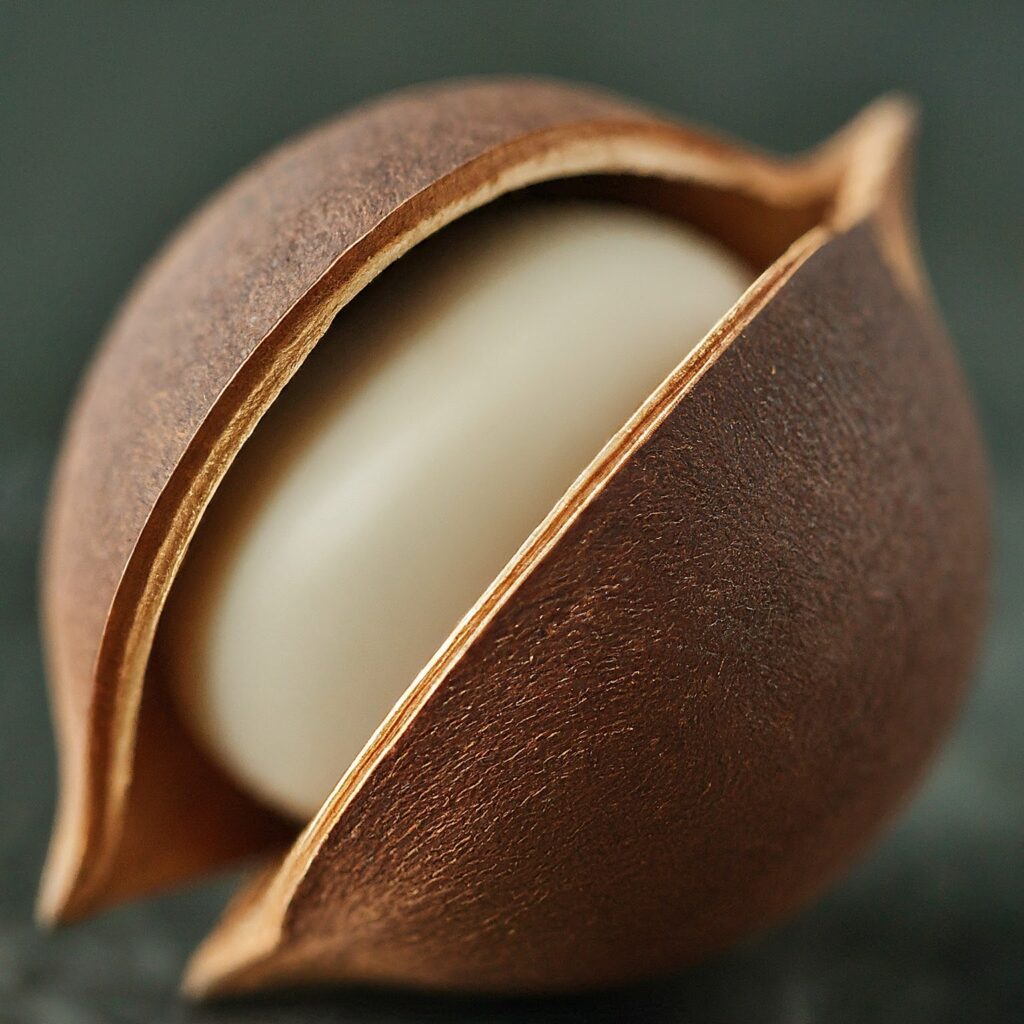
Which Seeds Need Scarification?
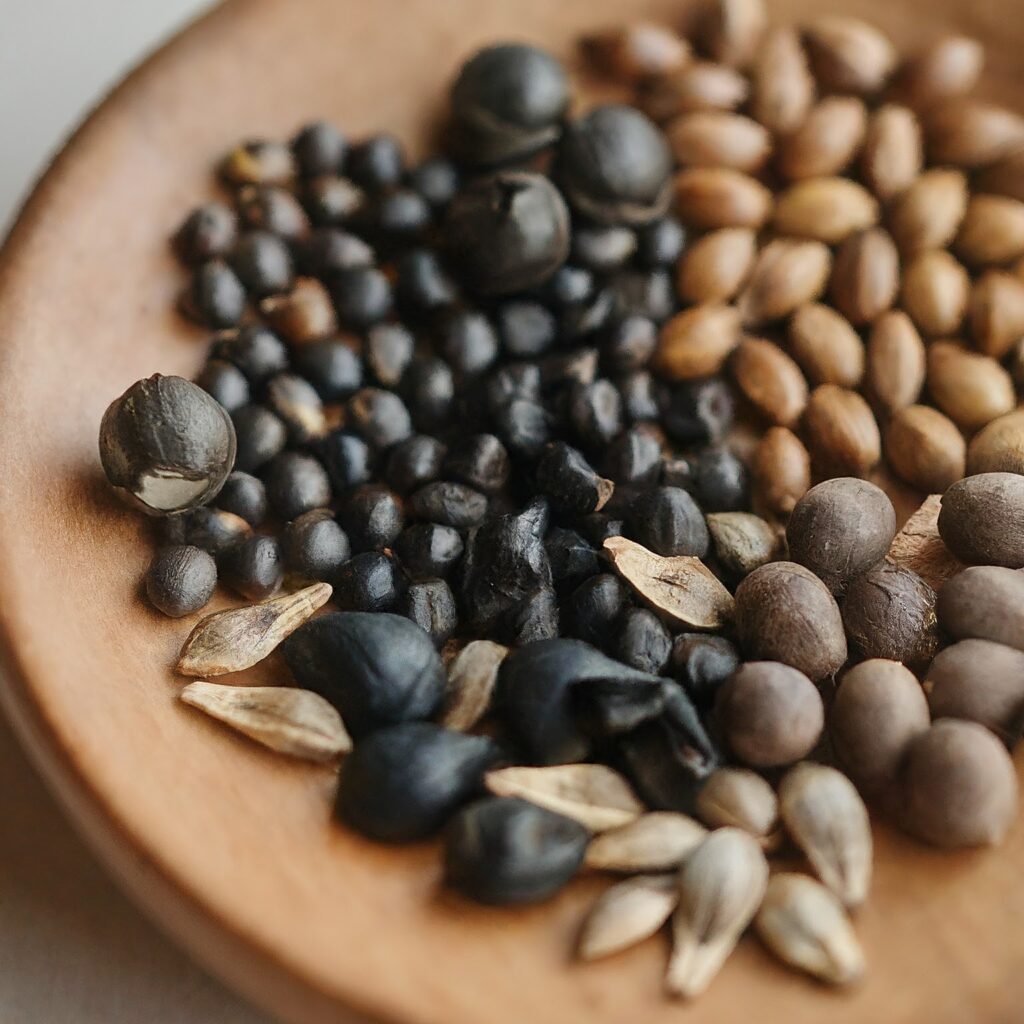
Not all seeds require scarification, but certain types have evolved with tough outer coats that make it difficult for water and oxygen to penetrate and trigger germination. These seeds are naturally adapted to conditions where they might encounter physical wear, extreme temperatures, or digestive processes in animals.
Let’s look at some common seeds that can germinate quickly if scarified:
Flower Seeds
- Morning Glories: Known for their vibrant, trumpet-shaped flowers, morning glories have hard seed coats that respond well to mechanical scarification with sandpaper or a knife.
- Sweet Peas: These fragrant, climbing plants often require mechanical scarification to break their tough seed coat.
- Lupins: Lupins, with their beautiful spikes of flowers, benefit from thermal scarification methods like boiling water or dry heat.
Vegetable Seeds
- Beans: Many varieties of beans, including lima beans, scarlet runner beans, and hyacinth beans, have hard shells that you can scarify with sandpaper or a knife.
- Peas: Garden peas and sweet peas (different from flowering sweet peas) often benefit from scarification to promote faster and more uniform germination.
Tree and Shrub Seeds
- Acacia: These hardy trees and shrubs, often found in arid regions, have seeds that benefit from thermal scarification methods.
- Locust Trees: Black locust and honey locust seeds require scarification, usually through mechanical or thermal methods.
- Maples: Certain maple species have seeds that benefit from scarification, especially those with particularly tough outer shells.
Herb Seeds
- Echinacea: Also known as coneflower, echinacea seeds can benefit from light scarification to improve germination rates.
- Parsley: This popular culinary herb has seeds that respond well to mechanical scarification.
Wildflower Seeds
- Texas Bluebonnet: This iconic wildflower of Texas requires scarification, usually mechanical, to ensure good germination.
- Wild Lupine: Similar to garden lupines, wild lupines also benefit from scarification to break their hard seed coats.
Exotic and Tropical Seeds
- Passionflower: These beautiful vines with intricate flowers such as the Red Passion Flower often require scarification to break their hard seed shells.
- Lotus: Lotus seeds have notoriously hard shells that need to be scarified, typically using mechanical or thermal methods, to allow water to penetrate.
How to Determine if Seeds Need Scarification
If you’re unsure whether a seed needs scarification, here are a few tips to help you decide:
- Research the Species: Look up information about the specific plant species. Many gardening resources and seed packets will indicate if scarification is needed.
- Inspect the Seed Coat: Seeds with particularly hard, thick, or shiny coats are often good candidates for scarification.
- Test a Few Seeds: Try germinating a small batch of seeds without scarification and see how they perform. If germination rates are low or slow, scarification might be necessary.
- Consult Experienced Gardeners: Joining gardening forums or groups can provide valuable insights and tips from those who have successfully grown the same plants.
Methods of Seed Scarification
There are several methods to scarify seeds, each suitable for different types of seeds.
Let’s explore these methods in detail.
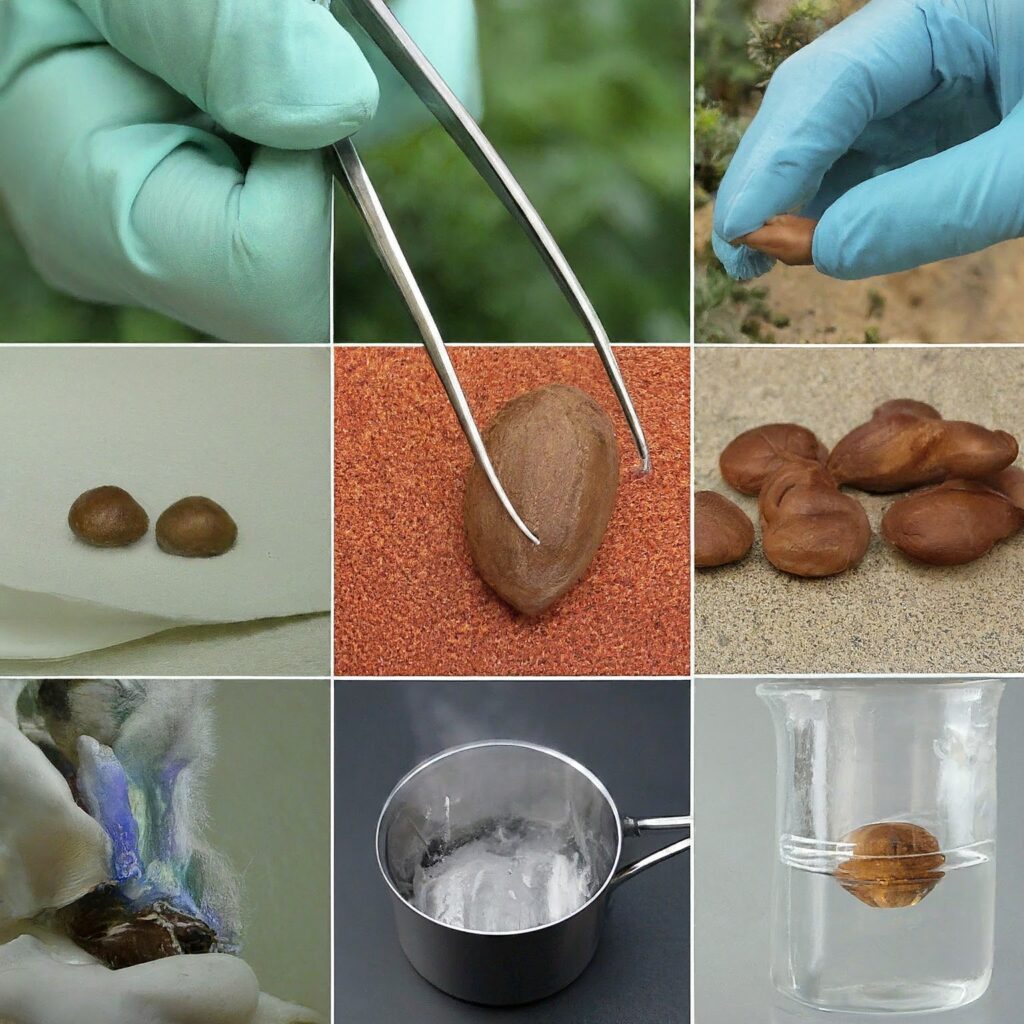
Mechanical Scarification
Mechanical scarification involves physically breaking the seed coat. This method is straightforward and doesn’t require any chemicals.
- Sandpaper or File Method: Gently rub the seed against sandpaper or a file. This scratches the surface just enough to let moisture in. This method is perfect for small batches of seeds and works well for seeds with moderately hard coats, like sweet peas and morning glories. Remember, the embryo is the heart of the future plant, so handle seeds with care to avoid any harm.
- Knife or Cutting Method: Use a sharp knife to nick the seed coat. This method requires precision and is best for larger seeds where you can control the cut, such as beans and gourds. Aim for a shallow cut to break the seed coat without reaching the embryo.
Thermal Scarification
Thermal scarification uses heat to break down the seed coat.
- Boiling Water Method: Pour boiling water over your seeds and let them soak until the water cools. This method is quick and effective for seeds with very hard coats, like those of lupins and cannas. After soaking, plant the seeds immediately or let them dry slightly before planting.
- Dry Heat Method: Place seeds in an oven at a low temperature (around 140°F or 60°C) for a few minutes. This method can be tricky as overheating can kill the seeds. Monitor the process closely and remove the seeds as soon as the seed coat starts to crack.
Chemical Scarification
Chemical scarification uses acids or other chemicals to soften the seed coat. This method requires careful handling and is often used for seeds with extremely hard coats.
- Acid Treatment: Soak seeds in a weak acid solution, like sulfuric acid, for a specific period. This mimics the stomach acid of animals that might eat the seeds. Handle with care and follow safety guidelines, including wearing gloves and eye protection. After soaking, rinse the seeds thoroughly to remove any acid residue.
- Other Chemical Methods: There are various other chemicals that can break down seed coats, but these methods are less common and require specific expertise. Always follow the recommended safety procedures for handling chemicals.
Here’s a video explaining 5 different ways to scarify seeds:
Step-by-Step Guide to Scarifying Seeds
Here’s a detailed step-by-step guide to help you scarify seeds effectively:
- Select Your Seeds: Choose seeds that have hard coats and are known to benefit from scarification. Research specific requirements for the seeds you’re working with, as not all seeds need scarification.
- Choose Your Method: Decide whether mechanical, thermal, or chemical scarification is best for your seeds. Consider the type of seed, your comfort level with each method, and the tools you have available.
- Prepare Your Tools: Gather the necessary tools and materials, such as sandpaper, knives, boiling water, or chemicals, depending on your chosen method. Ensure you have a clean workspace and all safety equipment ready.
- Scarify the Seeds: Follow the instructions for your chosen method, being careful not to overdo it. For mechanical methods, gently scratch or nick the seed coat. For thermal methods, monitor the seeds closely to avoid overheating. For chemical methods, follow safety guidelines and rinse seeds thoroughly after treatment.
- Soak the Seeds: After scarification, soak your seeds in water to kickstart germination. This step allows the seeds to absorb water more easily, further breaking down dormancy. Soak times vary depending on the seed type, but generally, a few hours to overnight is sufficient.
- Plant and Wait: Plant your seeds as usual and watch for quicker, more successful germination. Ensure you provide optimal growing conditions, including proper soil, temperature, and moisture levels.
Common Mistakes and How to Avoid Them
Scarification can be tricky, and it’s easy to make mistakes.
- Over-scarification: Scratching or cutting too deeply can damage the seed embryo, preventing germination. Be gentle and precise with your scarification methods.
- Under-scarification: Not doing enough to break the seed coat can result in seeds that still struggle to germinate. Ensure you’ve adequately scarified the seeds by checking for visible changes in the seed coat.
- Improper Handling and Storage: After scarification, handle seeds carefully to avoid contamination. Store them in a cool, dry place if you’re not planting them immediately. Ensure they don’t dry out too much or become exposed to pathogens.
Conclusion
Scarification might sound complicated, but it’s a simple and rewarding technique once you get the hang of it. You can achieve faster germination and stronger plants with a bit of practice and patience.
Frequently Asked Questions
How do I know if a seed needs to be scarified?
Check the seed packet or do some research. Seeds with hard, impermeable coats often benefit from scarification. Examples include morning glories, sweet peas, and various tree seeds.
Can I scarify seeds that are already sprouting?
No, it’s best to scarify seeds before they start the germination process. Once germination begins, it indicates the seed coat has already started to break down naturally.
What are the signs of successful scarification?
Swollen seeds, faster germination, and healthier seedlings are all good signs. You should notice the seeds absorbing water more readily and sprouting sooner than untreated seeds.