How to Grow Tomato from Seeds
Ever dreamt of biting into a juicy, homegrown tomato that puts store-bought ones to shame? Well, guess what? You can totally make that dream a reality. But how to plant tomato seeds? And how do I grow tomatoes from seeds, you ask?
Don’t worry because this guide is your roadmap to growing epic tomatoes from seed, no prior experience is required. We’ll cover everything from picking the perfect variety to troubleshooting those pesky yellow leaves.
So, grab your seeds, get ready to get your hands dirty, and let’s grow some deliciousness together!
Jump to section:
Getting Started: Understanding Your Tomato Options
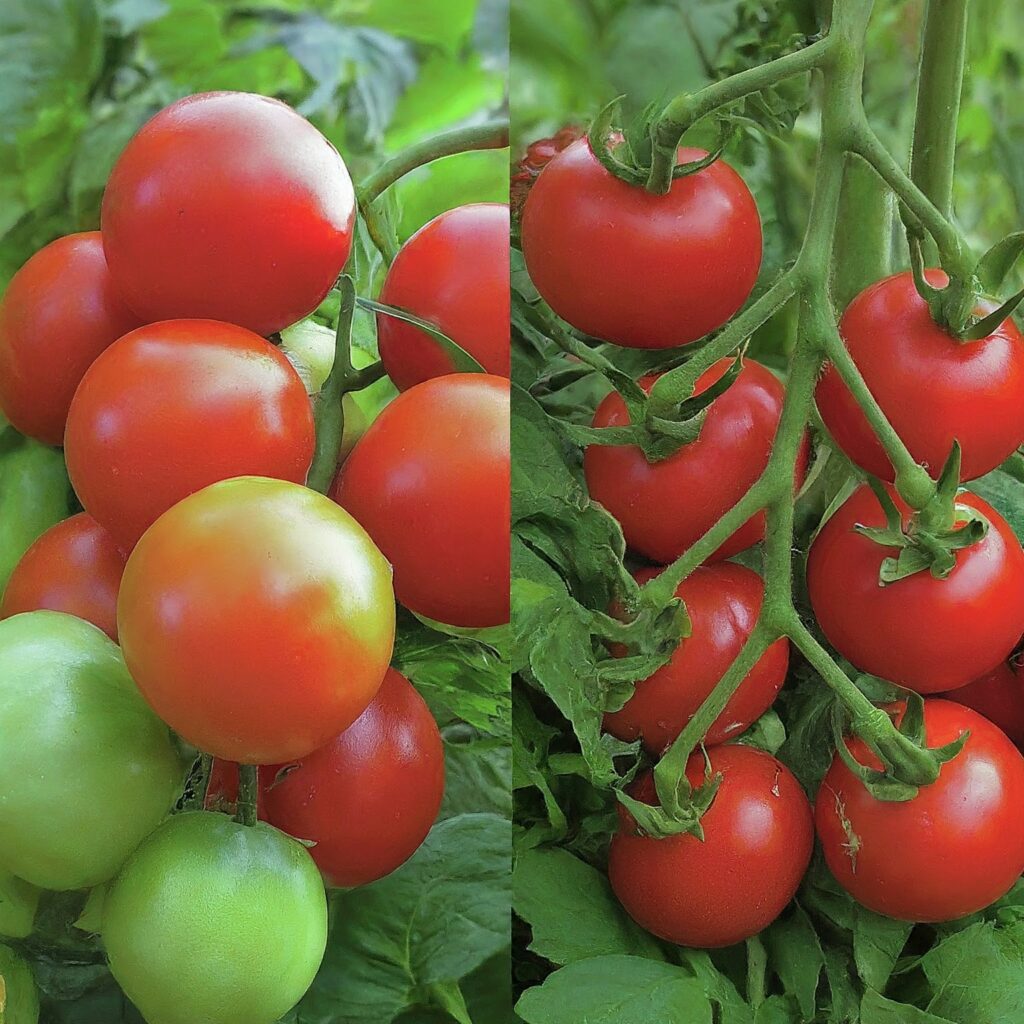
First off, keep in mind that tomatoes come in two main varieties: determinate and indeterminate.
- Determinate tomatoes, often called “bush” varieties, are compact and produce a concentrated burst of fruit at the end of the season.
- Indeterminate tomatoes, on the other hand, are vining plants that continue to grow and flower throughout the season, providing a steady stream of tomatoes until frost arrives.
Consider your garden space and desired harvest style when choosing your tomato variety. Determinate tomatoes are ideal for smaller gardens or container planting, while indeterminate varieties are perfect for sprawling gardens and continuous harvests.
Many gardeners enjoy saving seeds from their favorite tomatoes. However, for beginners, purchasing high-quality seeds online or from your local nursery is a reliable option. Look for reputable seed companies that offer varieties suited to your climate and growing conditions.
Learn more about determinate vs indeterminate tomatoes.
How to Plant Tomato Seeds
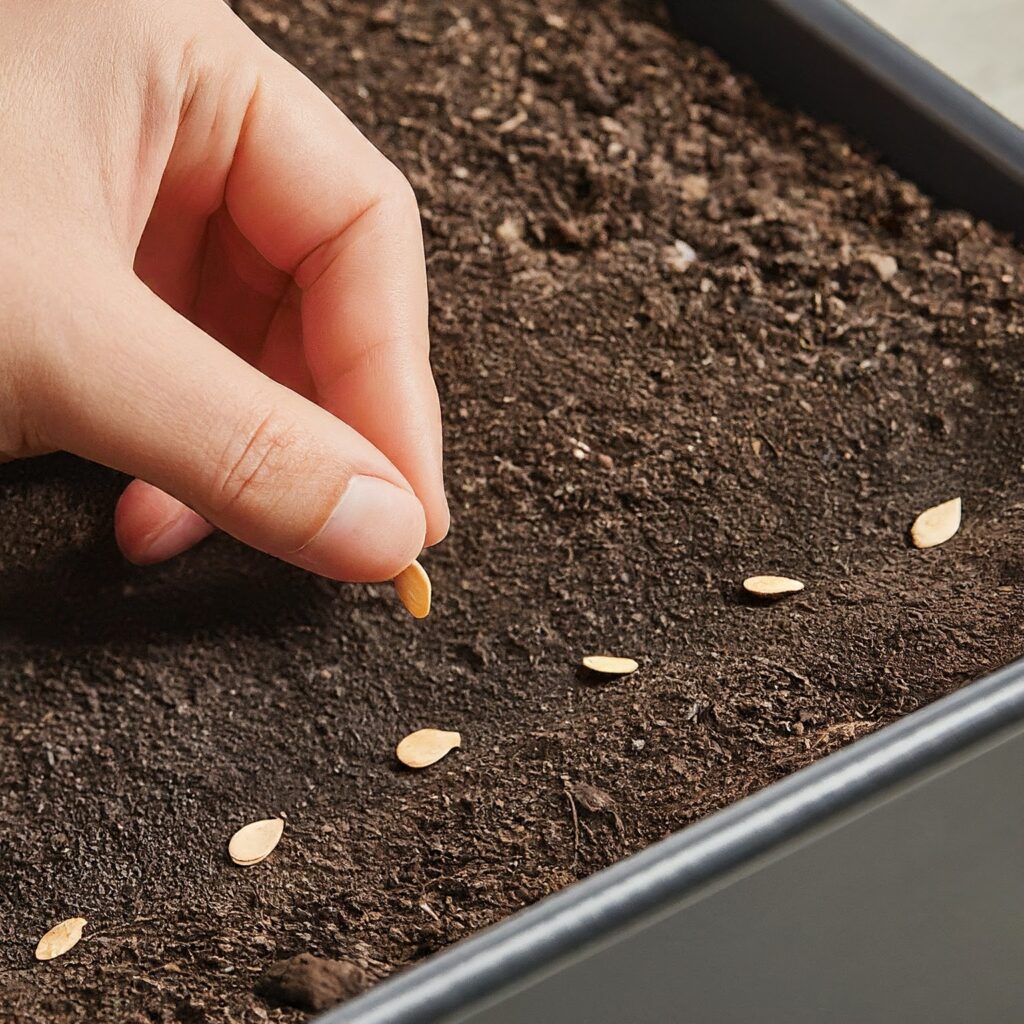
How to grow tomatoes from seeds? Well, now it’s time to get your hands dirty!
First things first, make sure you have a well-draining, high-quality seed starting mix. This provides the ideal environment for germination and early growth.
Steps to Grow Tomatoes from Seeds
- Depth: Aim for a cozy ¼ inch deep. Think of it like tucking the seeds in for a warm nap – not too shallow where they dry out, and not too deep where they struggle to sprout. Then gently press them into the soil with your fingertip or a blunt tool to create good seed-to-soil contact.
- Spacing: Scatter the tomato seeds evenly throughout your container, leaving enough room for their initial growth spurt. Don’t worry about perfect precision – you can always thin them out later. Here’s a rule of thumb: for small pots, leave about an inch between seeds; for larger containers, space them 2-3 inches apart.
- Watering: Use a mister or a watering can with a fine spray nozzle to avoid disturbing the delicate seeds. The goal is to keep the soil consistently moist, like a damp sponge. But be careful not to drown them – soggy soil can lead to rot.
- Light: Seeds are like little sunbathers! They crave warmth and light to kickstart germination. If you’re using a sunny windowsill, that’s fantastic! Just remember to rotate your containers every few days to ensure even growth on all sides.
- Light Boost: Want to give your seeds a germination superpower? Consider using grow lights. These provide a consistent and intense light source, especially helpful if you’re starting seeds indoors before the last frost. They’ll mimic those long summer days and give your seedlings the perfect environment to thrive.
- Heat it Up: Here’s a secret weapon for even better germination rates – a heat mat! Placing your seed starting trays on a heat mat provides gentle warmth, mimicking the cozy soil temperatures they’d experience in a greenhouse. This warmth can significantly boost your germination success, so it’s definitely worth considering, especially for early-season seed starting.
Caring for Seedlings: Nurturing Strong, Healthy Plants
Those tiny green heroes have emerged from their slumber – it’s transplanting time! This is where your tomato seedlings graduate to bigger digs, ready to develop into strong, productive plants.
Here’s what you need to know:
Timing is Key
Don’t rush this important step! Wait until your seedlings have developed at least two sets of true leaves (those larger leaves that appear after the initial cotyledons, which look more like rounded seed leaves). This ensures they’re established enough to handle the transition.
Gentle Does It
Seedlings are delicate, so handle them with care. Use your thumb and forefinger to gently grasp them by a true leaf, never by the fragile stem.
Upsize Their World
Choose new containers with drainage holes – this is essential to prevent waterlogging and root rot. Pots that are 3-4 inches deep are a good starting point for most tomato varieties.
Drainage Matters
Drainage holes are your plant’s best friends! Ensure the new pots have drainage holes to allow excess water to escape. Remember, overwatering is a common enemy of seedlings, so good drainage is crucial.
Deeper Roots, Stronger Shoots
When transplanting, bury the stem of the seedling slightly deeper than it was growing previously. This might seem counterintuitive, but it actually encourages the development of a stronger, more extensive root system. These hidden heroes will anchor your plant and help it absorb more water and nutrients.
Learn more about growing tomatoes.
Light Up Their Lives
Light is still vital for your growing superstars. As such, you should continue providing them with plenty of light, ideally aiming for at least 16 hours per day. It is a good idea to rotate the containers regularly to ensure even growth on all sides. Remember, sufficient light helps your seedlings develop strong, stocky stems instead of becoming leggy and weak.
Don’t Crowd the Crew
Seedlings need space to breathe! Therefore, you should avoid overcrowding your pots. If you see them getting too close for comfort, it’s time to thin them out. This simply means gently removing some of the weaker seedlings to give the remaining ones enough space to thrive.
Light Up the Night
If natural light is limited, especially during the early stages of growth indoors, consider using grow lights. These provide a powerful and consistent light source that mimics long summer days. This extra boost can help prevent leggy growth and encourage your seedlings to develop into healthy, compact plants.
Troubleshooting and Maintenance: Keeping Your Plants Thriving
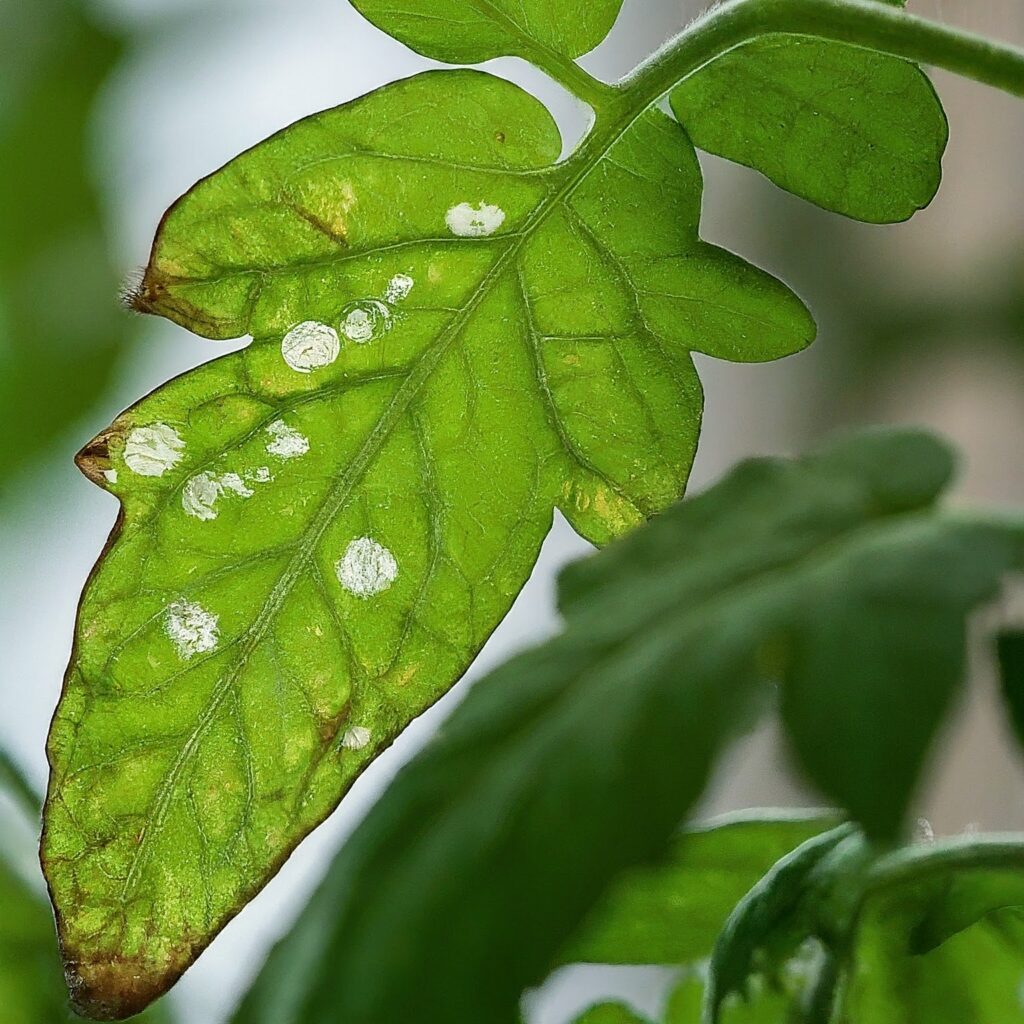
Even the greenest thumbs encounter bumps in the road. Here’s a battle plan for the most common challenges that might bug (literally) your tomato plants:
Pest Patrol
Tiny, green monsters sucking the life out of your leaves? Those are likely aphids. Or maybe you see minuscule webs and yellow stippling – that’s a sign of spider mites.
Don’t panic! There are organic solutions to send these sap-sucking villains packing. Insecticidal soap or neem oil sprays are effective and eco-friendly options. Regularly monitor your plants for signs of pests, and catch them early for a swift takedown.
Learn more about how to get rid of aphids.
Fungus Among Us
Fungal diseases can also pose a threat to your tomatoes. Early blight and Septoria leaf spot are common culprits, causing brown or yellow spots on leaves and stems.
While prevention is key (proper watering, air circulation, and choosing disease-resistant varieties helps), if you see signs of fungal foes, act fast! Remove infected leaves and improve air circulation around your plants.
Related post: https://gardengleams.com/what-is-the-best-time-of-the-day-to-water-plants/
In some cases, organic fungicides like copper fungicide spray can be helpful. Remember, a healthy plant with good air circulation is less susceptible to fungal diseases.
Nutrient Deficiency Blues
Sometimes, your tomato plants might develop yellowing leaves, stunted growth, or pale foliage. This could be a sign of nutrient deficiencies. Essential nutrients like nitrogen, phosphorus, and potassium are crucial for healthy growth.
To address this, consider using a balanced fertilizer specifically formulated for tomatoes. These fertilizers provide the essential nutrients your plants crave to thrive and produce delicious fruit.
Prevention is Your Best Weapon
The best defense is a good offense! Here’s how to keep your tomato plants healthy and prevent problems before they start:
- Garden Hygiene: Keep your garden area clean and free of debris from previous plantings. This helps decrease the risk of pests and diseases.
- Plant Monitoring: Regularly inspect your plants for any signs of trouble. Early detection allows for swift intervention and prevents problems from escalating.
- Water Wisely: Overwatering is a common culprit for many tomato problems. Give your plants a thorough drink, then let the soil dry out a bit before watering again. This encourages deep root growth and prevents overwatering. This helps promote healthy root development and discourages fungal diseases.
- Air Circulation Matters: Good air circulation around your plants helps prevent fungal diseases. As such, you should avoid overcrowding your plants and prune away any lower branches that might restrict airflow.
Planting Outdoors: Taking Your Tomatoes to the Next Level
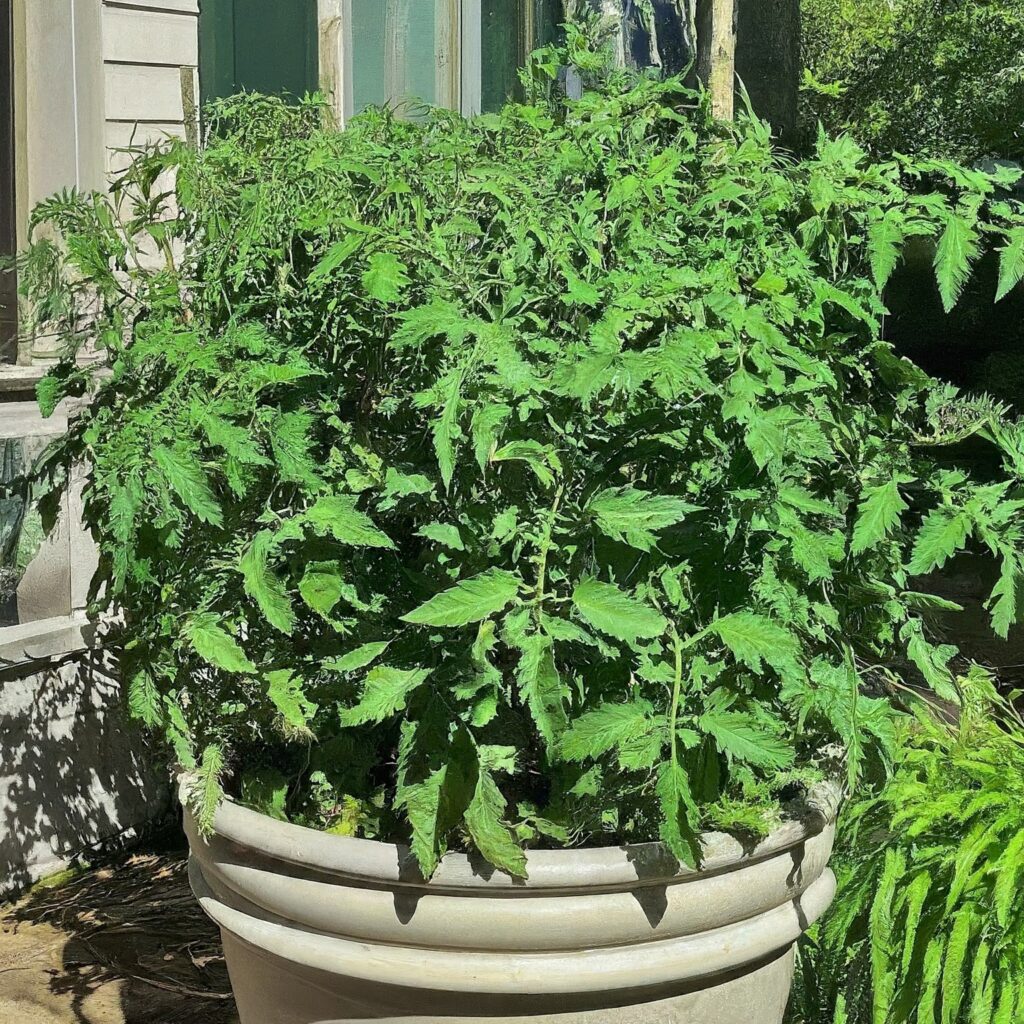
Your tomato seedlings have transformed from tiny sprouts into strong, established plants. Now it’s time to introduce them to the wonders (and occasional challenges) of the great outdoors!
This crucial step, called hardening off, gradually acclimates your seedlings to the harsher outdoor environment, setting them up for success in their new home.
Here’s how to make this transition smooth sailing:
Baby Steps to Sunshine
Remember, your seedlings have been living a sheltered life indoors. This means you shouldn’t subject them to a sunshine shock!
For starters, introduce them to outdoor conditions for short bursts, gradually increasing the duration each day. It is a good idea to begin in a shaded area, protecting them from strong winds and harsh weather.
Then over the next 7-10 days, slowly increase their daily exposure to direct sunlight until they can handle full sun for most of the day.
Tough Love (the Gentle Kind)
This might sound counterintuitive, but during the hardening-off process, expose your seedlings to some mild wind (not strong gusts, of course!). This gentle breeze helps strengthen their stems and makes them less susceptible to wind damage once they’re permanently planted outdoors.
Location, Location, Location
When choosing the final planting spot for your tomatoes, think sunshine, drainage, and deliciousness! For happy and thriving tomatoes, find a spot in your garden that gets bathed in sunshine for at least 6-8 hours each day
Also, well-draining soil is crucial to prevent root rot, so check your soil composition and amend it with compost or aged manure if necessary. Rich organic matter provides essential nutrients for your plants to thrive and produce a bountiful harvest.
Support Systems
Depending on the tomato variety you chose, some support might be necessary. Vining tomato varieties, known for their cascading growth habit, benefit greatly from stakes or cages.
These structures provide support for the stems and prevent them from sprawling or breaking under the weight of ripening fruit. For determinate or bush tomato varieties, staking typically isn’t required.
Give your tomatoes a calcium boost! Scatter crushed eggshells around the base of the plant to add essential calcium to the soil.
Calcium helps promote stronger cell walls and reduces the risk of blossom end rot, a physiological disorder that can cause the developing fruit to develop a sunken, leathery patch at the blossom end.
Final Thoughts
So, you’ve successfully navigated the journey from seed to strong, healthy tomato plants. Perfect!
Now comes the most rewarding part – harvest time! Sit back and savor the juicy, homegrown goodness you’ve nurtured from tiny seeds. There’s nothing quite like the satisfaction of biting into a tomato that bursts with flavor, knowing you cultivated it with your own hands.
Remember, gardening is a continuous learning experience. Don’t be discouraged by minor setbacks – embrace them as opportunities to learn and refine your skills. With each season, you’ll gain valuable knowledge and witness the magic of transformation as you transform seeds into delicious tomatoes.
So, keep nurturing your green thumb, and get ready to enjoy the fruits (or should we say, vegetables?) of your labor!
